AeroTronics Fiberglass Map Box.
Posted: Tue Jan 13, 2009 8:40 am
In my panel design, having a map box was always a secondary consideration to basic panel layout and keeping the stock panel. However, with the way my panel layout ended up, I was able to incorporate a map box. I always assumed Van's map box was the only game in town until I visited a local RV-8 builder who had AeroTronics make his map box. I was very impressed with it, as it was fiberglass and seemless. The Van's map box always seemed ugly and kludgy.
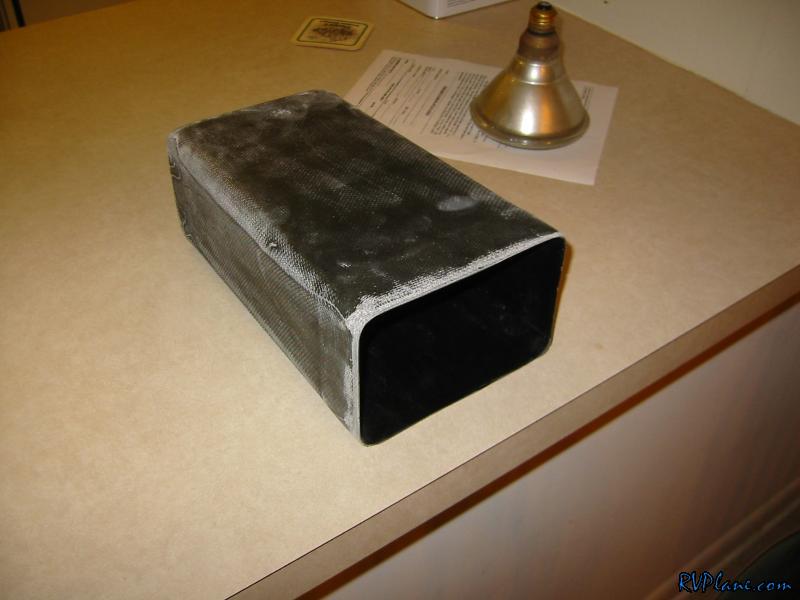
The AeroTronics map box was $100. It did include a latching mechanism for the door -- the type that when you close the door it "clicks" and secures it self. To open it, you press the door in and the mechanism clicks again and the door is released. I like this because its dirt simple and its invisible from the front of the panel. If you're interested in buying one get in touch with Gary Wirrell at AeroTronics.
One of the time consuming parts of installing this map box is making the door. Sure, its just 4 sides and 4 edges, but it's gotta be perfect.
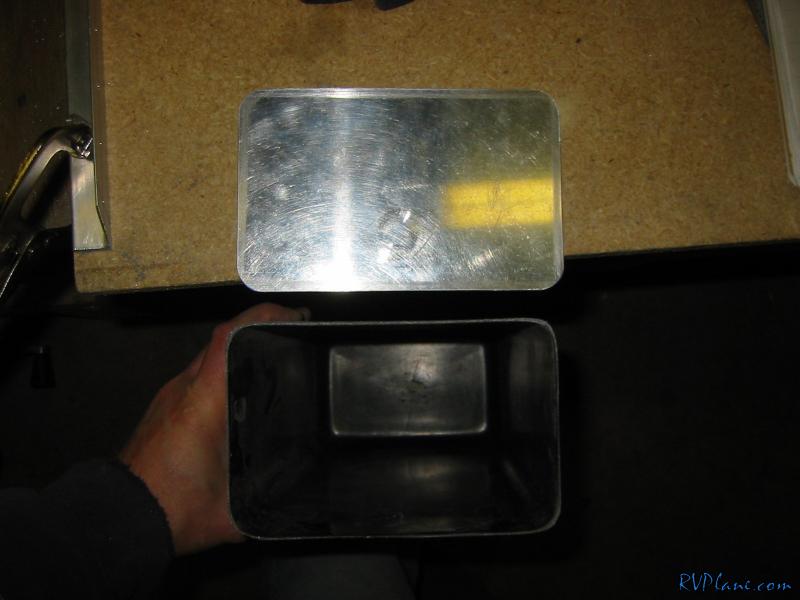
Next was cutting out the panel to match the door:
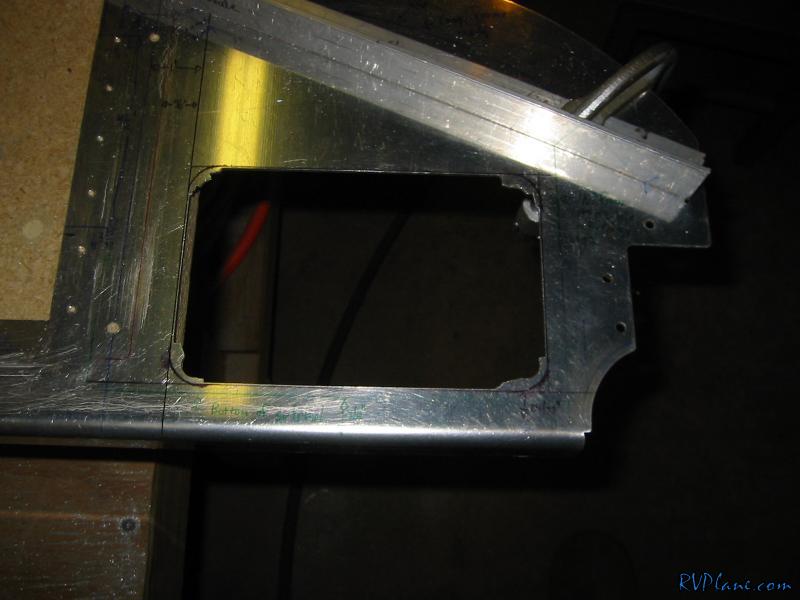
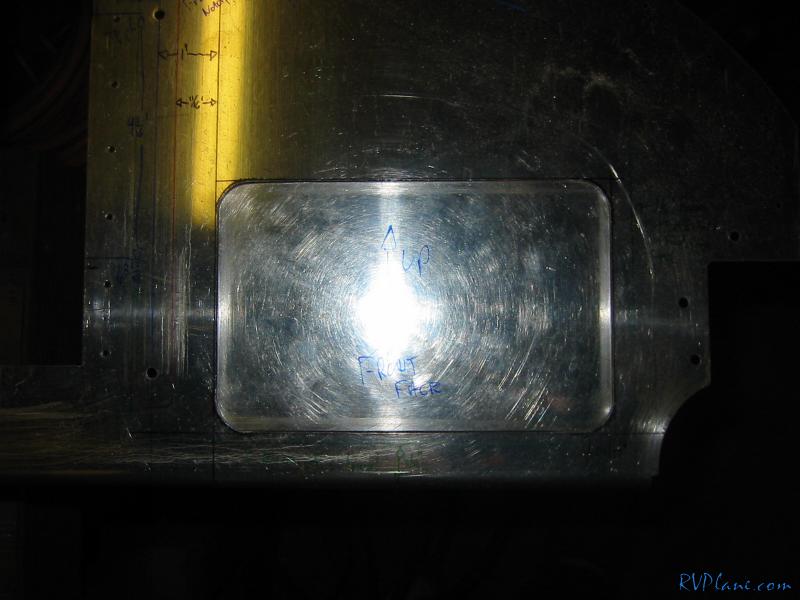
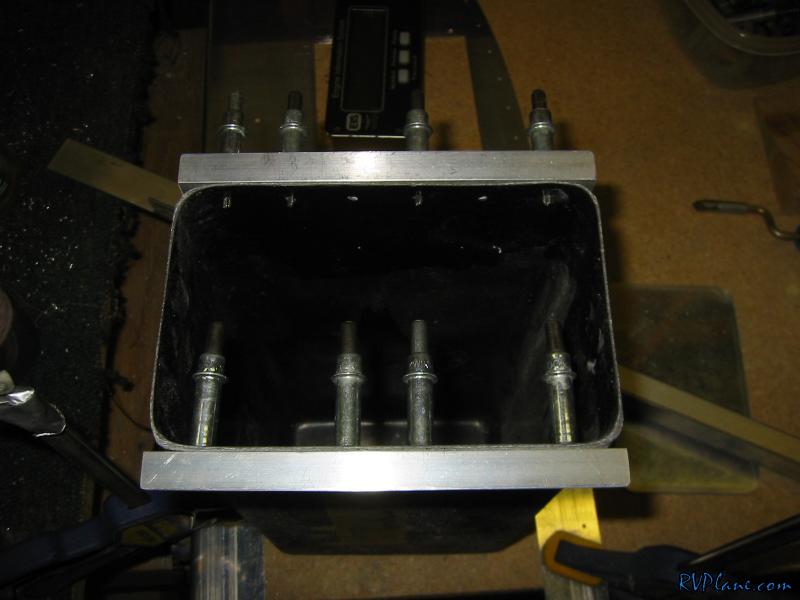
I mounted some angle to the map box to attach it to the panel. The angle will get some nutplates in it so it will screw to the panel to be removable.
I needed to make a cutout at the bottom of the panel for the hinge eyelets.
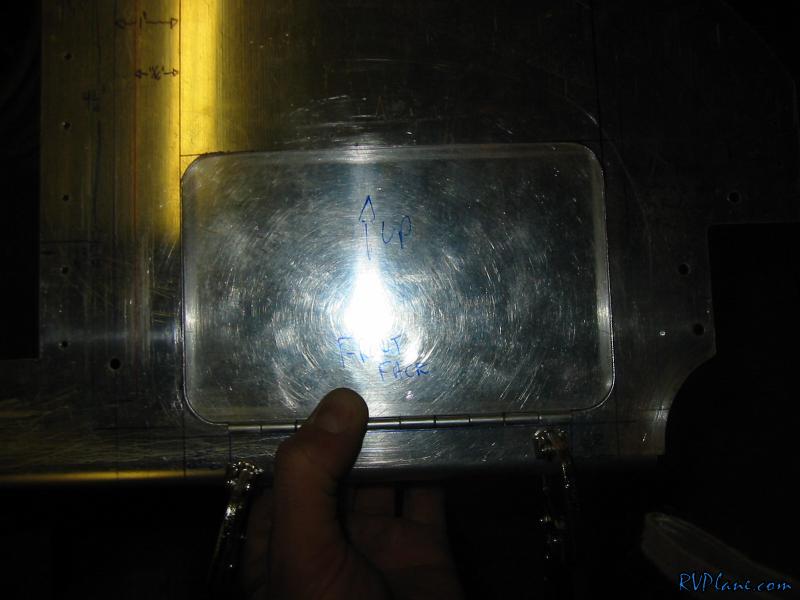
Next everything gets drilled to the panel.
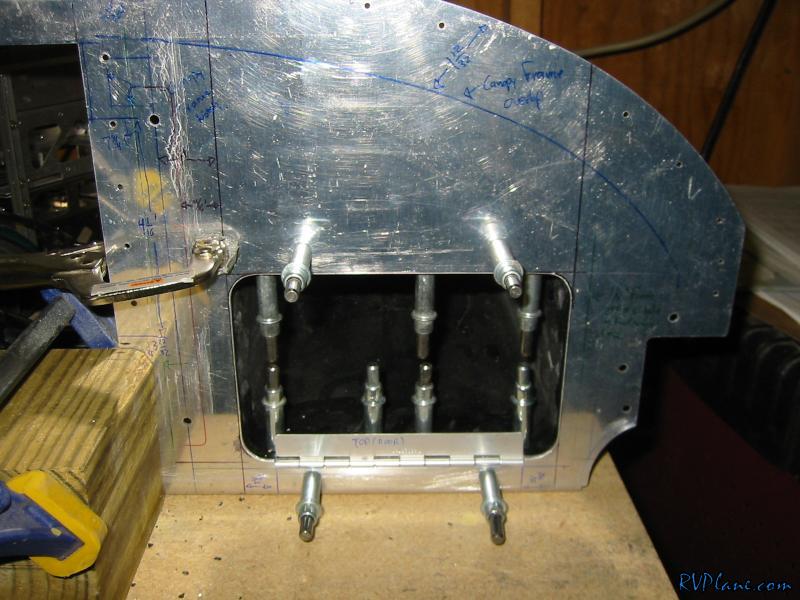
With the hole in the panel completed, it was time to cut a hole in the subpanel for the map box to penetrate through. However, there was interference with the forward canopy deck. I knew about this earlier when I decided where my map box would go.
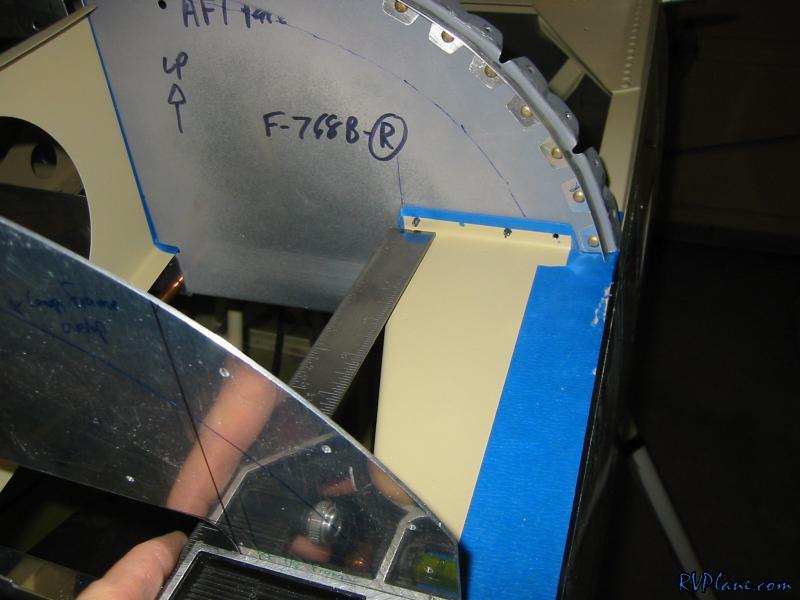
After some work with the cutoff wheel in the dremel:
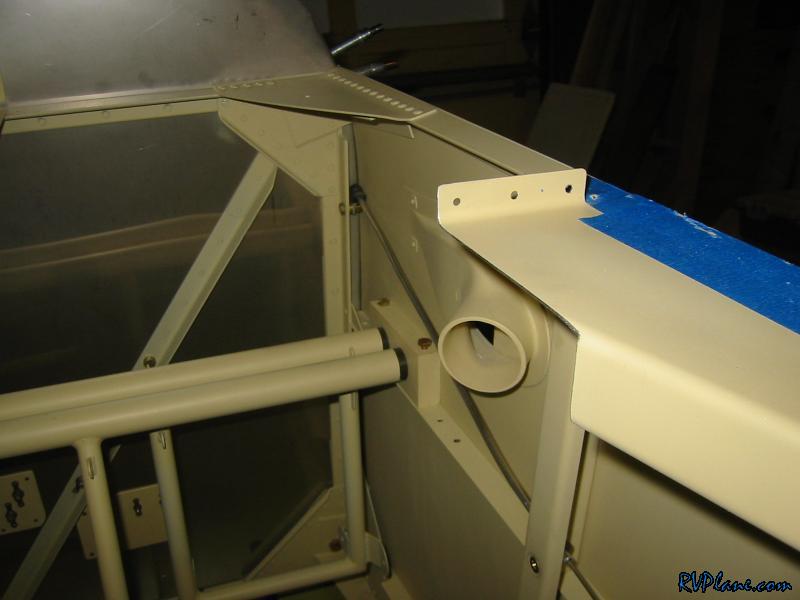
Next I needed to cut the subpanel for the map box to go through.
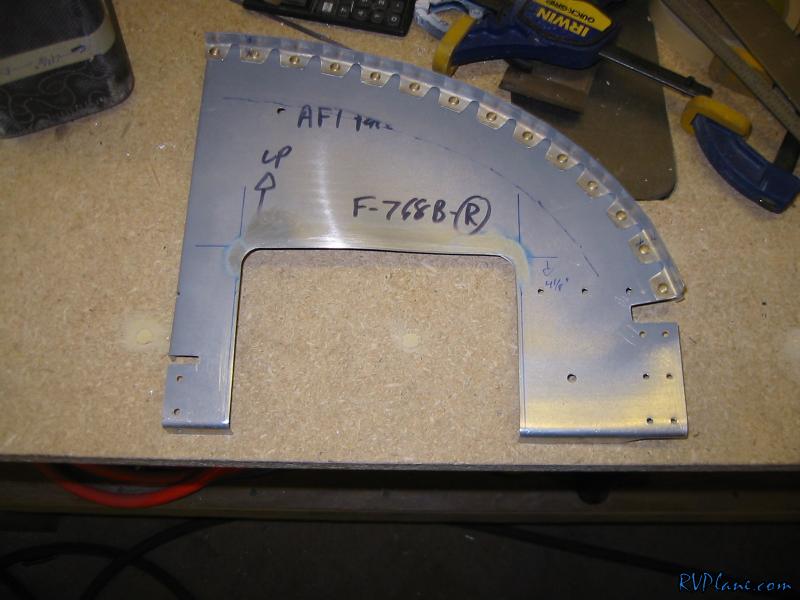
I planned the placement of the map box so the bottom of it would align with the bottom of the subpanel. With that simple alignment, I could just toss a piece of 063 angle on the bottom to support the bottom of the map box and reinforce the subpanel.
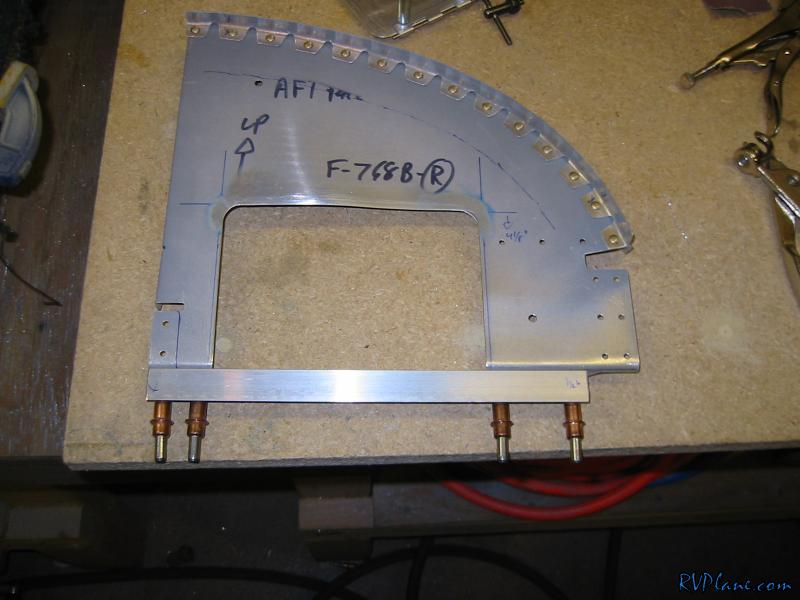
Here is the map box in place.
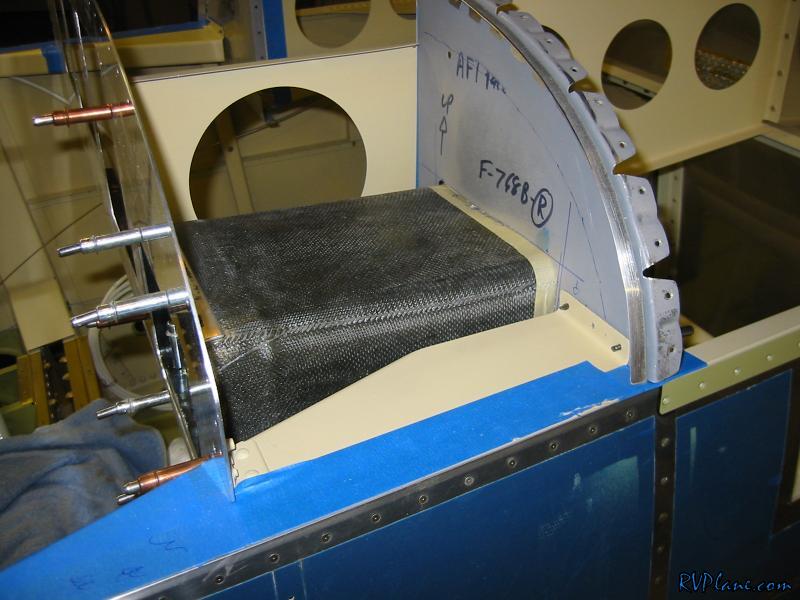
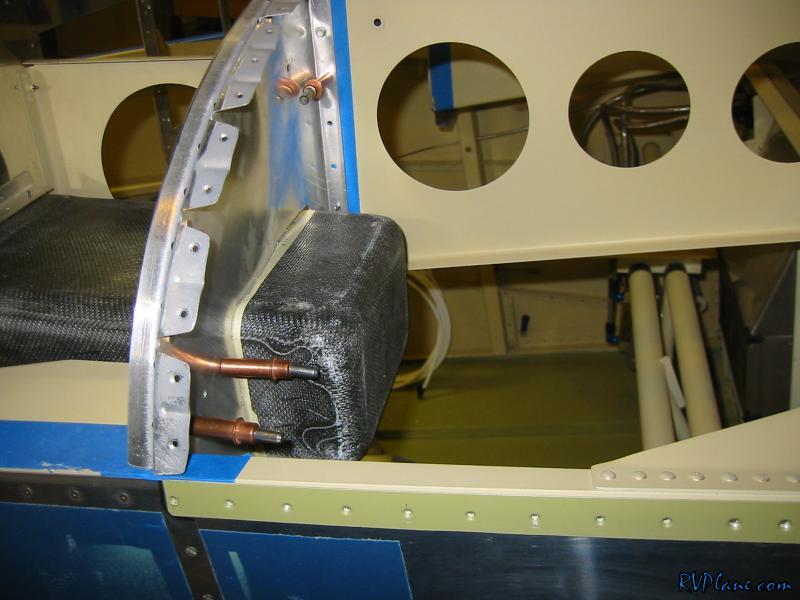
And here is the forward side of the subpanel to show how far it penetrates.
The AeroTronics map box was $100. It did include a latching mechanism for the door -- the type that when you close the door it "clicks" and secures it self. To open it, you press the door in and the mechanism clicks again and the door is released. I like this because its dirt simple and its invisible from the front of the panel. If you're interested in buying one get in touch with Gary Wirrell at AeroTronics.
One of the time consuming parts of installing this map box is making the door. Sure, its just 4 sides and 4 edges, but it's gotta be perfect.
Next was cutting out the panel to match the door:
I mounted some angle to the map box to attach it to the panel. The angle will get some nutplates in it so it will screw to the panel to be removable.
I needed to make a cutout at the bottom of the panel for the hinge eyelets.
Next everything gets drilled to the panel.
With the hole in the panel completed, it was time to cut a hole in the subpanel for the map box to penetrate through. However, there was interference with the forward canopy deck. I knew about this earlier when I decided where my map box would go.
After some work with the cutoff wheel in the dremel:
Next I needed to cut the subpanel for the map box to go through.
I planned the placement of the map box so the bottom of it would align with the bottom of the subpanel. With that simple alignment, I could just toss a piece of 063 angle on the bottom to support the bottom of the map box and reinforce the subpanel.
Here is the map box in place.
And here is the forward side of the subpanel to show how far it penetrates.