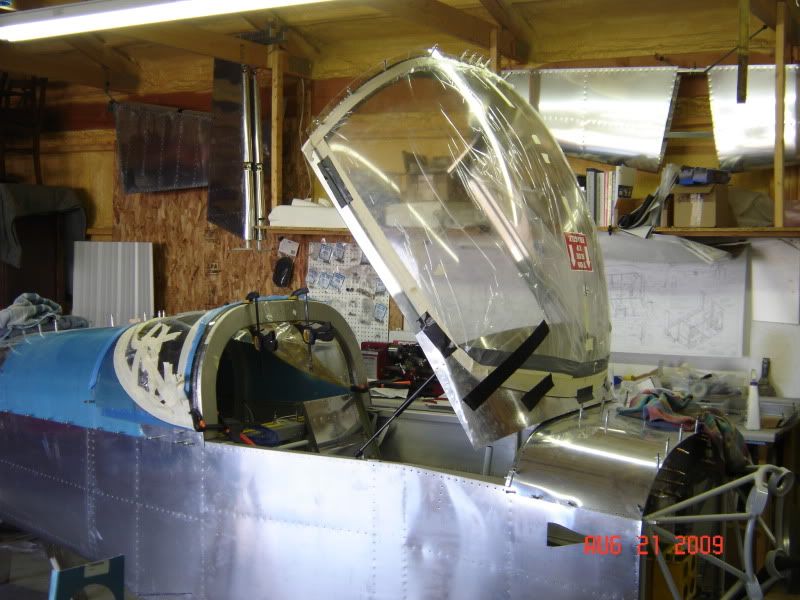
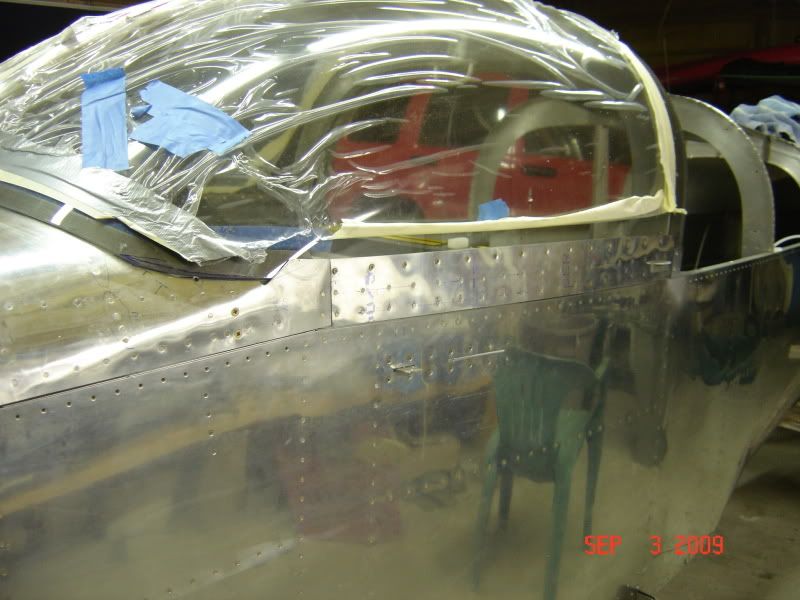
Hot off the mega overtime schedule, I decided I hadn't had enough punishment. SO might as well dig that canopy out of the storage box and torment myself.
It was about 1yr ago I made the big cut and initial fitting. Yesterday I did some final trimming of the forward piece. Today I drilled to the frame. The plexi bit cuts like butter and no chipping. Then started fitting the rear window, but the BBQ was calling, so this is it until tomorrow
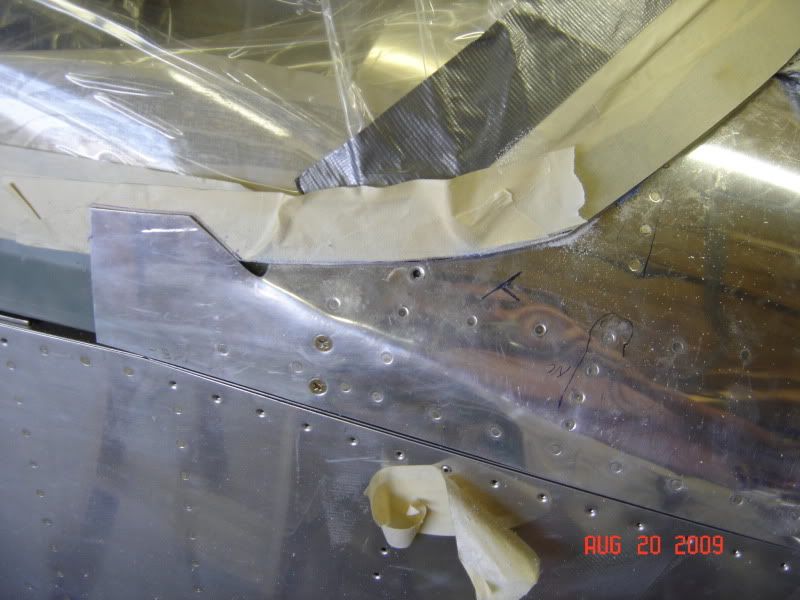
Time?....about 15 months! first 2 months were worry time about the big cut, don't crack it ect. The frame took about a week of evenings, the fit changes every time you take it off. BUT once I choose to start cutting, the layout and initial trimming and big cut took a couple hours. Another hr of trimming to get the ears tucked in (don't forget to sand the edges). Then I got frustrated with the frame gap on the Pax side, so I put the whole thing away last fall. Then 3 days ago, I said no more waiting get that thing done! So now I have ~6-8hrs doing hole layout and final trimming, then drilling the rollbar and aft top skin. Should get the rear window installed today after work. Still have to drill the side skirts, too.
So to answer your question, maybe 40hrs including the frame. The plexi is no big deal, a lot of worry for nothing.
I've been browsing your build site along with Brantel's. Kinda sad, last year I was a month or two behind you guys, now I'm a year or two behind Gonna try hard to pick up the pace this winter
hydroguy2 wrote:Sometimes it just takes a tiny amount of effort to move forward. Set a goal even a small one and just do it.
Thats what I do and it seems to always keep the project moving forward. It seems like this thing is taking forever and forever but it is getting done! My current problem is finding the cash to finish it up!
Great work, looking good!
Brantel (Brian Chesteen),
RV12-IS, #121606, N912BC - Building Now!
RV10, #41942, N????? - Project Sold
RV-7/TU, #72823, N159SB - SOLD
Brantel wrote: ........ It seems like this thing is taking forever and forever but it is getting done! My current problem is finding the cash to finish it up!
Me and you both. My other problem is when I know I don't have the money to finish, I find it hard to keep focus and working on any of it.
If you find a reliable source for a overflowing bucket of extra cash, let me know and I'll split it with you.
I traveled the same road and one of the reasons my wheel paints and gear leg fairings aren't painted is because I ran out of money. I don't have the lights installed yet either and the wing tips are not painted. But the airplane has 55 hours on it as of today and I hope to get some more this week! Look for things that can be postponed or delayed. Some people delay painting their airplane but I got most of it painted. Maybe you can barter for some services from somone. Keep plugging away it is well worth it!
Needed IO-360, willing to trade 1 worn out riding lawnmower and 2 small dogs. of course if the wife finds out about the dogs I will also need a place to stay.
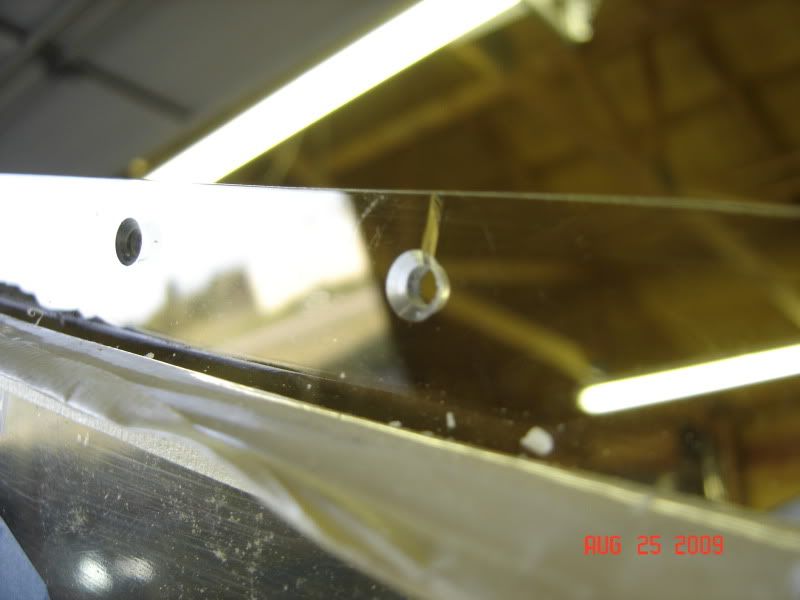
There it is, in all it's glory. my first crack! don't know why.
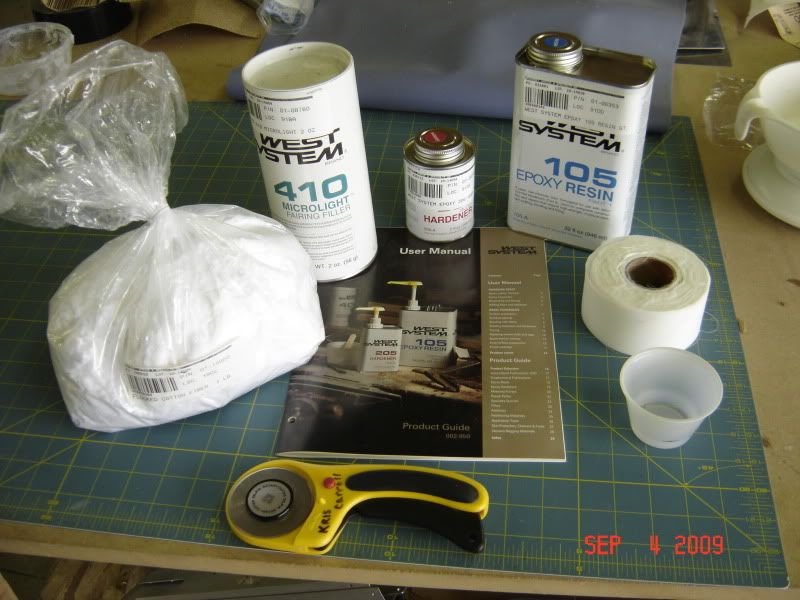
anyway, need some glue before I bolt it up. any ideas where to pick up a small amount....remember I live in the booneys
Anyone putting something between the plexi and the frame? like uhmw tape as a dampener. How about sealing between the glass and AL with bead of silicone or something to keep water out?
Bummer to see a crack! Is that on the bottom part of the forward canopy? if so, you might of lucked out because that part of the canopy gets wedges between the canopy frame and the side skirt - a nice reinforced location!
From what I have read, IPS Weld-On #3 Cement is what works well for canopy cracks.
It appears you cracked it when you were countersinking the hole. What sort of drill did you use - air or electric/battery? Was the countersink bit new (i.e. sharp) or an older one? Just trying to figure out what could of gone wrong for you. Were you using BoeLube or any other lubricant?
Mike Bullock http://www.rvplane.com RV-7 | Superior IO-360 | Whirlwind 200RV Garmin GTN650 | GRT Dual Sport SX EFIS
Status: FLYING!
yep a bummer, but did happen in the best place possible. Yes it was the lower section of the forward canopy. I figure I'll add a little glue, before I bolt things together.
right again, snapped during the countersink operation. no lube, cordless drill slow speed, older countersink(but still good).
the canopy is upside down in the photo, but was right side up when working on it. I was going along great, probably already did 50 or so and only had 3 or 4 to go....looking back I may have not been on the hole square and just put a sideload on the pilot...who knows. Oh well done is done, no reason to start drinking...yet.
It is recommended countersinking plexiglass with an air drill at high speed, with low pressure. The problem with a low speed electric drill is it creates too much low end torque which will just grab and crack the plexi.
Good luck!
Mike Bullock http://www.rvplane.com RV-7 | Superior IO-360 | Whirlwind 200RV Garmin GTN650 | GRT Dual Sport SX EFIS
Status: FLYING!
It is recommended countersinking plexiglass with an air drill at high speed, with low pressure. The problem with a low speed electric drill is it creates too much low end torque which will just grab and crack the plexi.
Good luck!
I tested my technique on some scrap and was working very well. When drilling I agree, highspeed airdrill. but I found with the countersink I got a couple of chatters which I didn't like and once the chips were almost molten. I didn't like the heat it was generating.
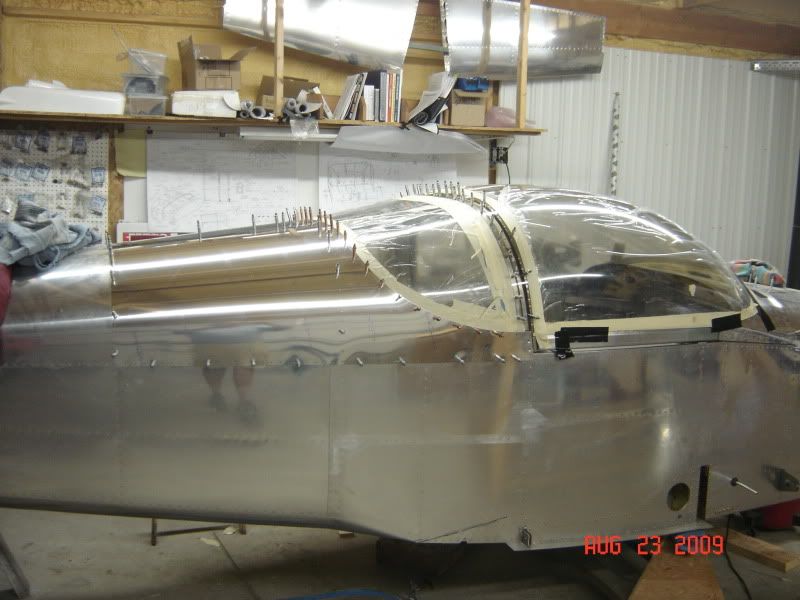
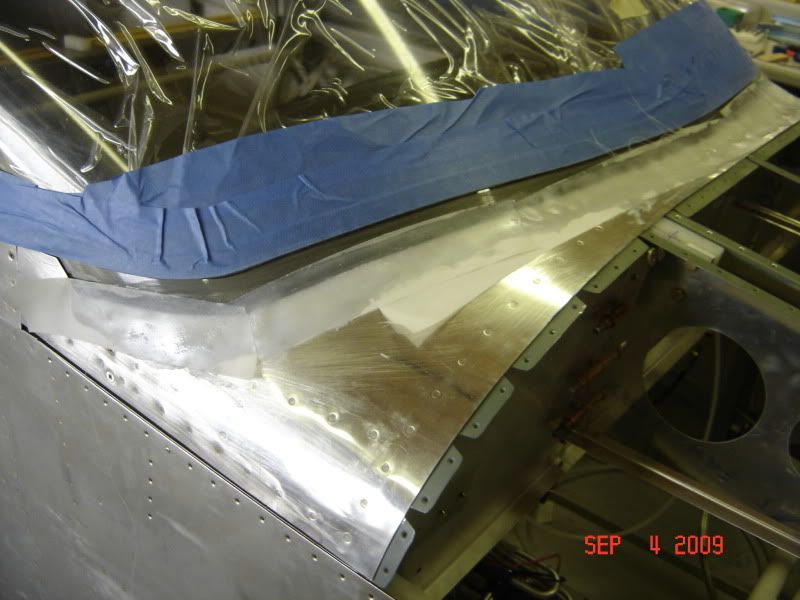
Just like always, the canopy seems to fit different every time I take it on and off.....does it ever end. Remade one of my skirts to close up a gap on the pax side. Pilot side came out pretty good. Hopefully, I bolted it on for the last time.