
it's a 3 way.......James cowl & plenum, Vans baffle kit and Me
Date night
Date night
ok technically it will be an short affair. Kris is off to college for a few days, so I figured today, I would start getting personal with the baffles. Now I don't condone cheating, but any tips out there to help this affair go smoothly. 
it's a 3 way.......James cowl & plenum, Vans baffle kit and Me
it's a 3 way.......James cowl & plenum, Vans baffle kit and Me
Brian
Townsend, MT
Townsend, MT

Brian-
I suggest the following technique for battling this:
1) Read my website
2) Read my website
3) Read my website
I have the same combo and tried to document it thoroughly.
Generally, you will need to do the following:
1) Fit the baffles on the side and aft of the engine.
2) trim the top of the baffles roughly so the cowl will fit over them
3) Position the plenum on the baffles and use the top cowl to determine final plenum position.
4) Drill plenum to baffles. Get ready to make some custom glass for adapting the plenum to the top-front of the engine as well as the intake.
Mike Bullock
http://www.rvplane.com
RV-7 | Superior IO-360 | Whirlwind 200RV
Garmin GTN650 | GRT Dual Sport SX EFIS
Status: FLYING!
http://www.rvplane.com
RV-7 | Superior IO-360 | Whirlwind 200RV
Garmin GTN650 | GRT Dual Sport SX EFIS
Status: FLYING!

4 hrs to get here. The AL back pieces to some serious and annoying trim work. Then dropped the plenum in place, but see it's going to be fun.
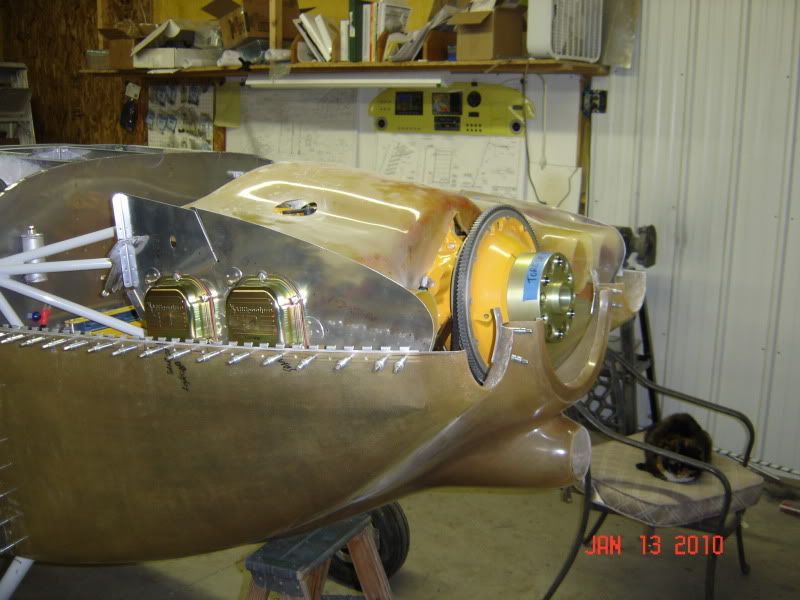
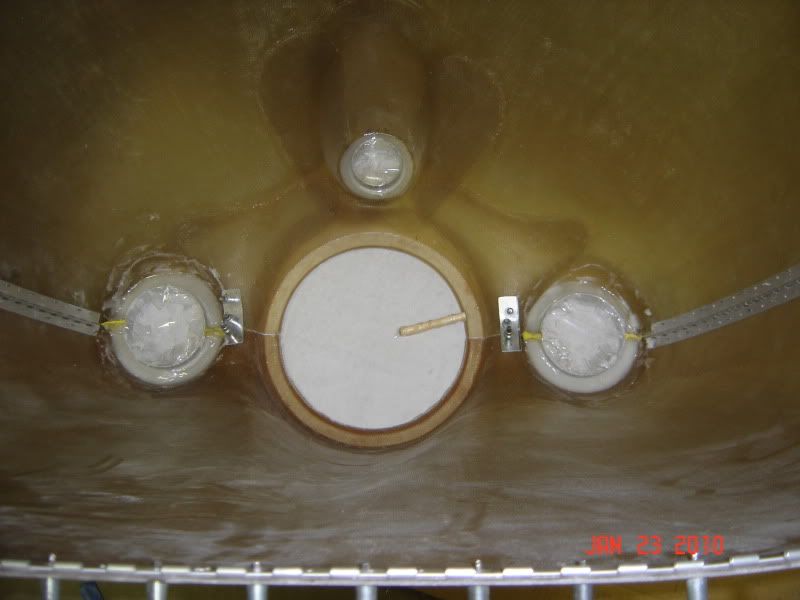
After cutting a hole for the AFP purge valve, I got the fronts to line up close. Next need to figure out how low to set the back end for cowl clearnace.
After cutting a hole for the AFP purge valve, I got the fronts to line up close. Next need to figure out how low to set the back end for cowl clearnace.
Brian
Townsend, MT
Townsend, MT
After a couple days of doing real work, I got back in the shop tonight to work on the plenum/baffle. Multiple questions below......
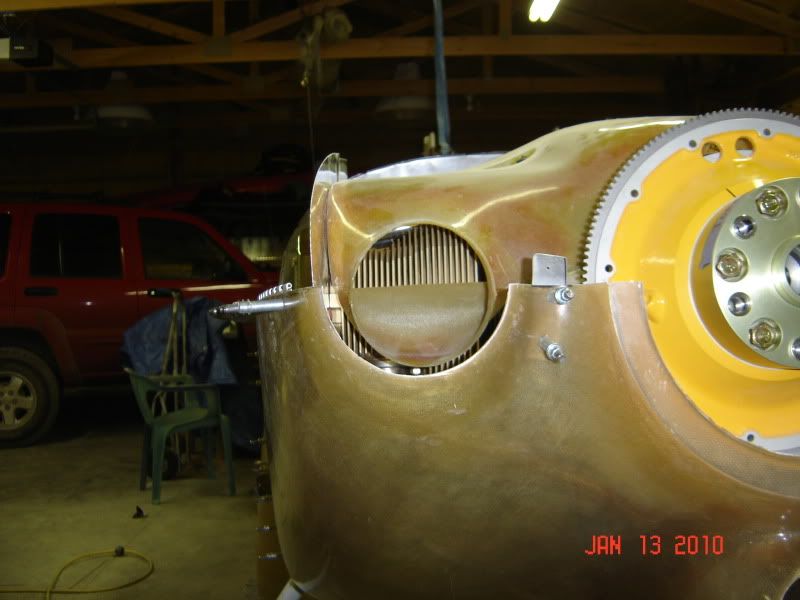
I have the extended cowl and the distance from the inlet rings to the plenum is almost 3". Seems like a long way for the neoprene seal material. Anyone want to recommend a gap I should shoot for? I thinking I'll glass on some extensions to close the gap to 1/2".

How much clearance should I have between the top of the plenum and the inside surface of the cowl?
Is it best to get the plenum as low over the back cylinders or as high as possible?
I have the extended cowl and the distance from the inlet rings to the plenum is almost 3". Seems like a long way for the neoprene seal material. Anyone want to recommend a gap I should shoot for? I thinking I'll glass on some extensions to close the gap to 1/2".
How much clearance should I have between the top of the plenum and the inside surface of the cowl?
Is it best to get the plenum as low over the back cylinders or as high as possible?
Brian
Townsend, MT
Townsend, MT
I have about 3/4"-1" between the inlet rings and plenum.
I think the "manual" mentions a half inch clearance between the top of the plenum and the cowl. That's what I have at the closest point.
I have my plenum sitting right down on all four cylinders...that sets the height at the rear of the plenum...at least on mine.
I think the "manual" mentions a half inch clearance between the top of the plenum and the cowl. That's what I have at the closest point.
I have my plenum sitting right down on all four cylinders...that sets the height at the rear of the plenum...at least on mine.
Naa, I'll wing it. Gives me a reason to ask you questions. Plus if it looks like most of the instructions I've seen (like Vettermans), they look like a chicken scratched them out. If you see any thing important in them let me know.
I just went to your build log and got most of the details I need. Thanks
I just went to your build log and got most of the details I need. Thanks
Brian
Townsend, MT
Townsend, MT
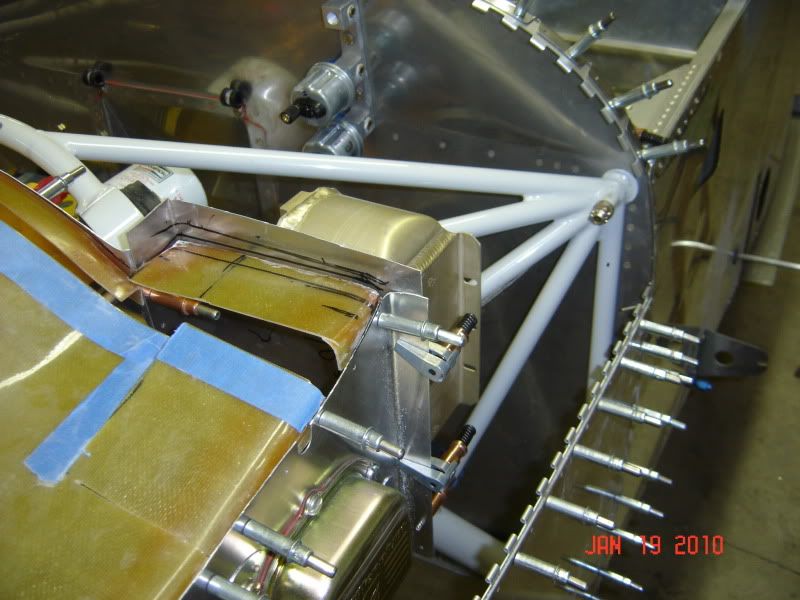
Hey Chad, I recall you said the plenum has it's own set of issues. I will say that is the understatement of the year. At first glance, I thought this should go pretty quick. Well today I sliced and diced my James plenum. Hopefully, I'll get it glassed back together this weekend.
But on the upside. UPS delivered my Dynon180 today
But on the upside. UPS delivered my Dynon180 today
Brian
Townsend, MT
Townsend, MT
I tried for 2 days to massage it into place I liked, but could get the inlets to work at the same time as the oil cooler. throw in the purge valve and prop gov line...cjensen wrote:Wow...you have a few more slices and dices than I had. Issues...yeah, to put it lightly!
Brian
Townsend, MT
Townsend, MT
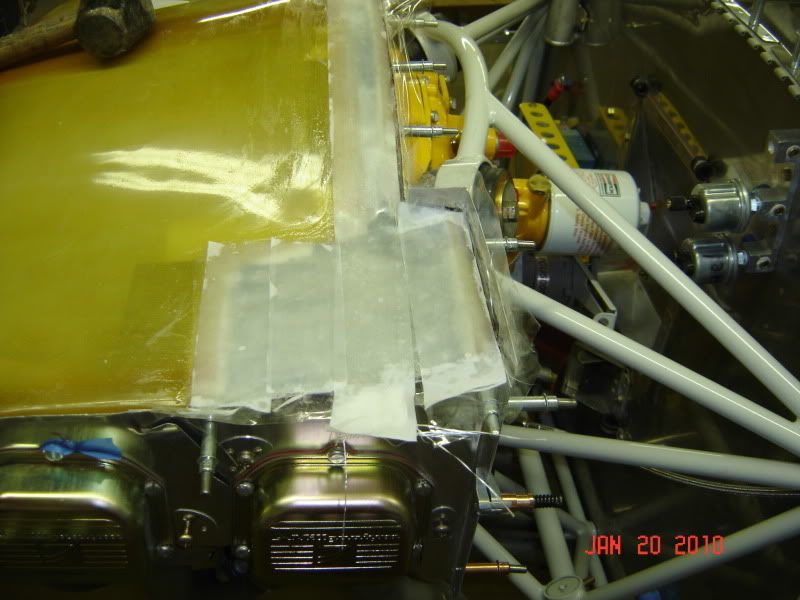
What does a guy do after work, when it's snowing and blowing outside?
You fit the inlet rings and then stand your cowl nose first on a piece of wax butcher paper.
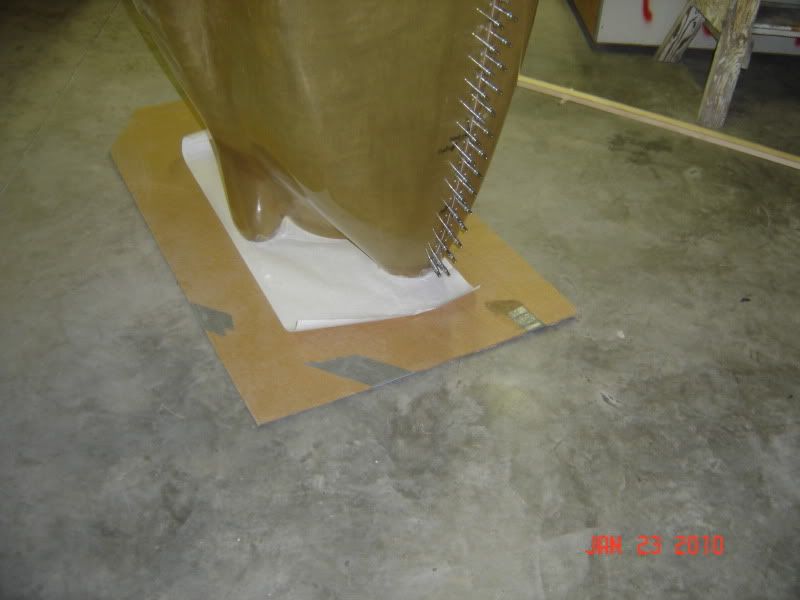
That doesn't take long and the shop is already warm, so may as well mix up so epoxy and pour it in.
Now I can only hope they will come apart tomorrow. Still got time to measure for hoses or throttle cables.
You fit the inlet rings and then stand your cowl nose first on a piece of wax butcher paper.
That doesn't take long and the shop is already warm, so may as well mix up so epoxy and pour it in.
Now I can only hope they will come apart tomorrow. Still got time to measure for hoses or throttle cables.
Brian
Townsend, MT
Townsend, MT