AeroTronics Fiberglass Map Box.

A forum for the proverbial airport bum who just wants to talk about anything and everything related to flying. Introduce yourself here !!

Post Reply
User avatar
bullojm1
Chief Rivet Banger
Posts: 1374
Joined: Sat Mar 25, 2006 6:37 pm
Location: KDMW
Contact:

AeroTronics Fiberglass Map Box.

Post by bullojm1 »

In my panel design, having a map box was always a secondary consideration to basic panel layout and keeping the stock panel. However, with the way my panel layout ended up, I was able to incorporate a map box. I always assumed Van's map box was the only game in town until I visited a local RV-8 builder who had AeroTronics make his map box. I was very impressed with it, as it was fiberglass and seemless. The Van's map box always seemed ugly and kludgy.

Image

The AeroTronics map box was $100. It did include a latching mechanism for the door -- the type that when you close the door it "clicks" and secures it self. To open it, you press the door in and the mechanism clicks again and the door is released. I like this because its dirt simple and its invisible from the front of the panel. If you're interested in buying one get in touch with Gary Wirrell at AeroTronics.

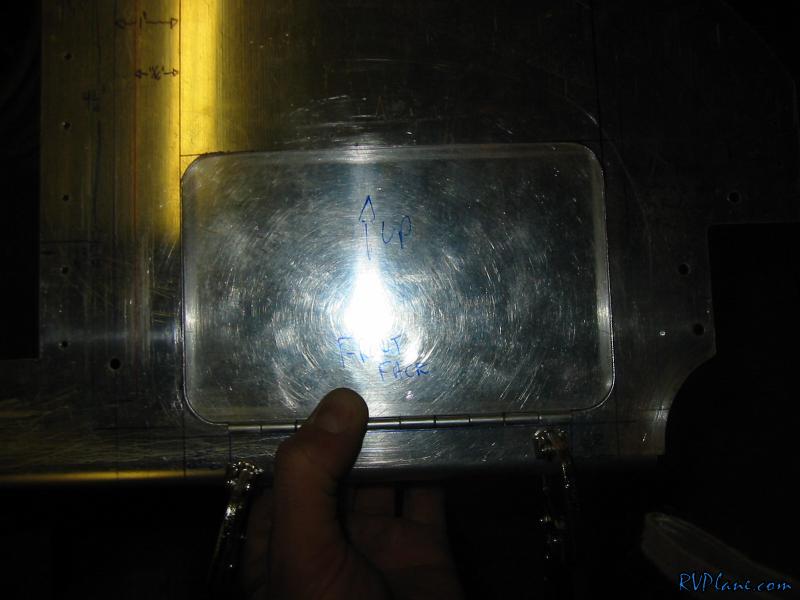
One of the time consuming parts of installing this map box is making the door. Sure, its just 4 sides and 4 edges, but it's gotta be perfect.

Image

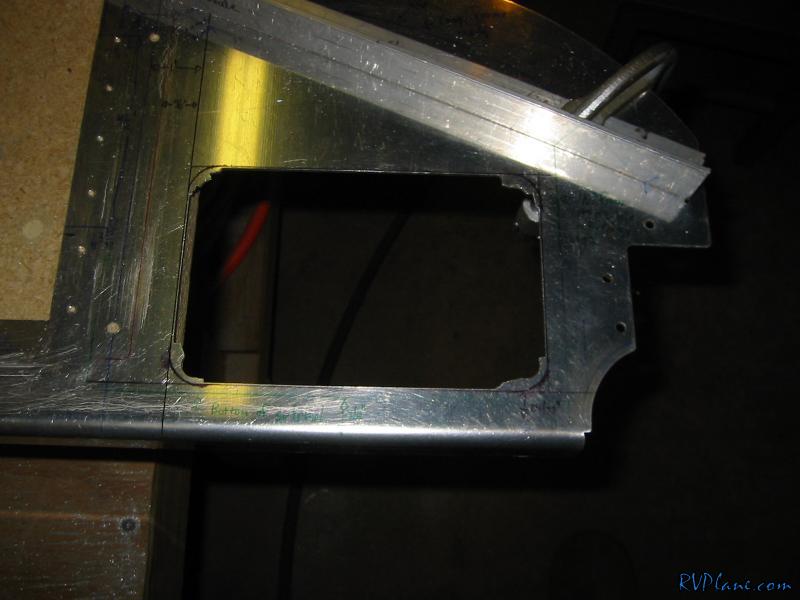
Next was cutting out the panel to match the door:

Image

Image

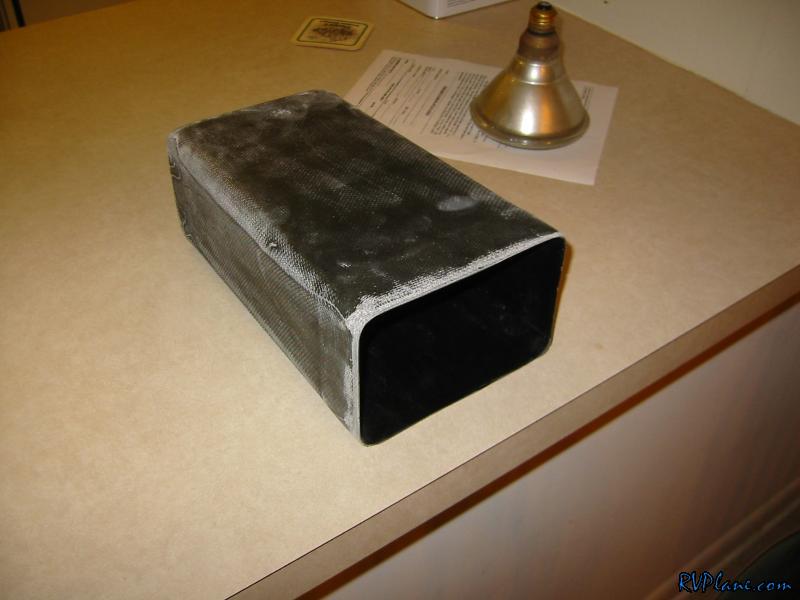
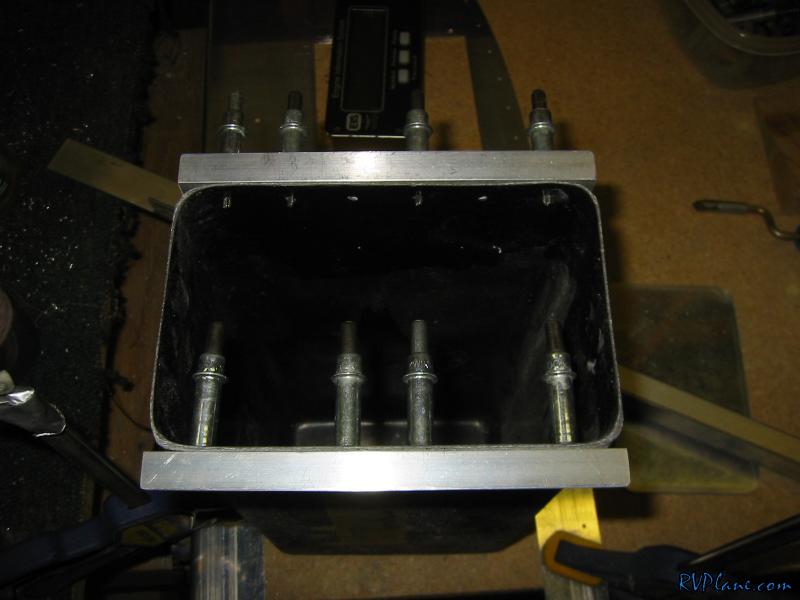
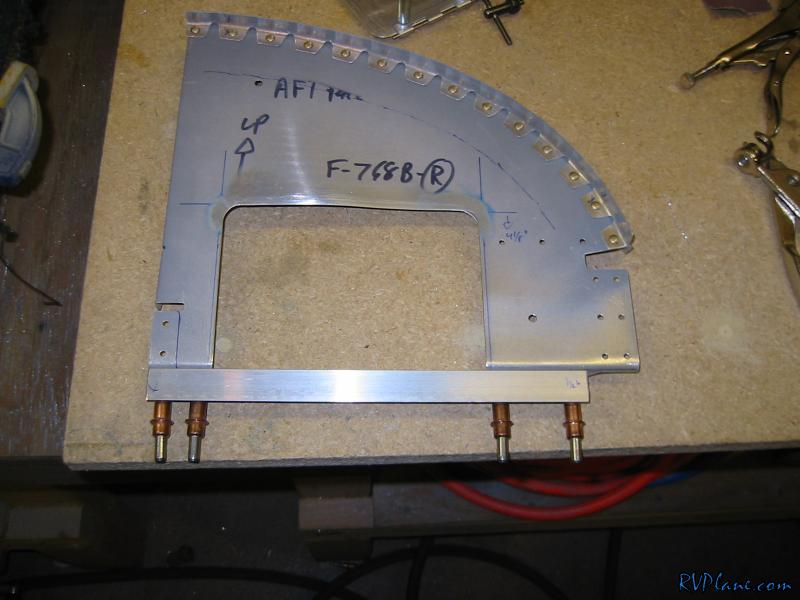
I mounted some angle to the map box to attach it to the panel. The angle will get some nutplates in it so it will screw to the panel to be removable.

Image

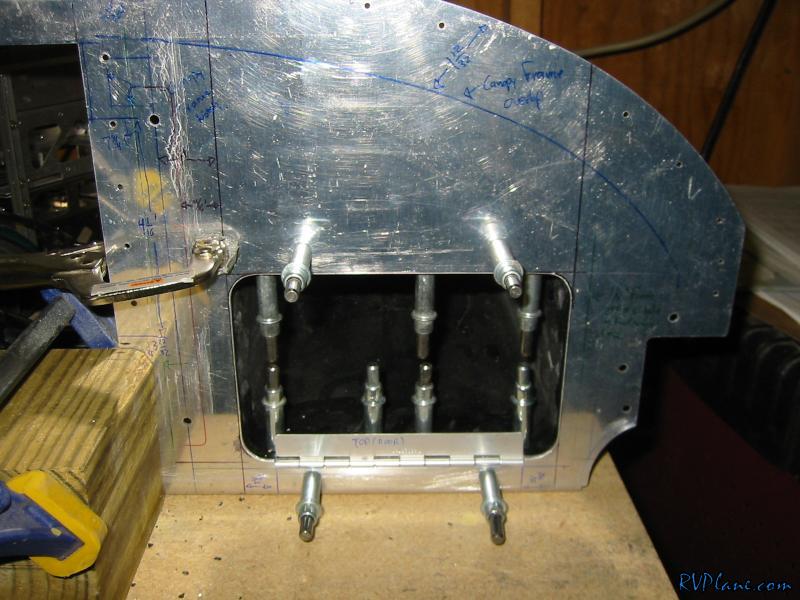
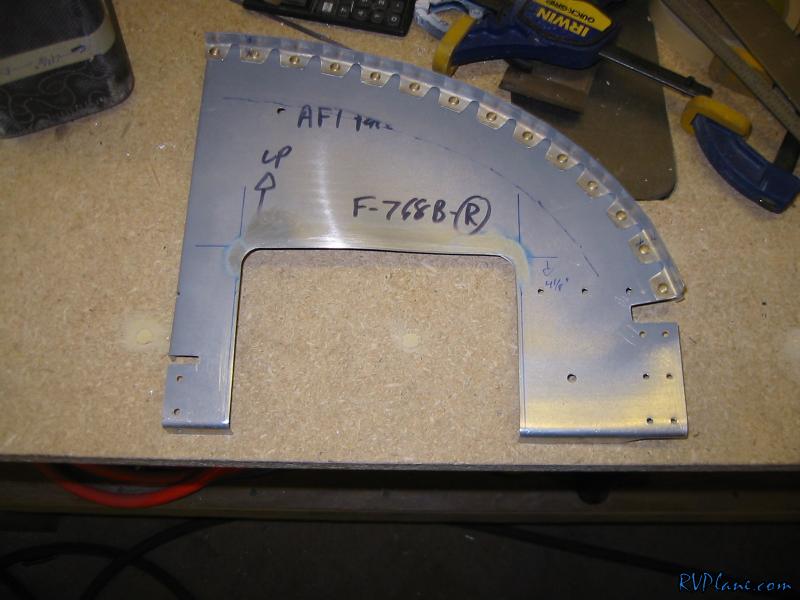
I needed to make a cutout at the bottom of the panel for the hinge eyelets.

Image

Next everything gets drilled to the panel.

Image

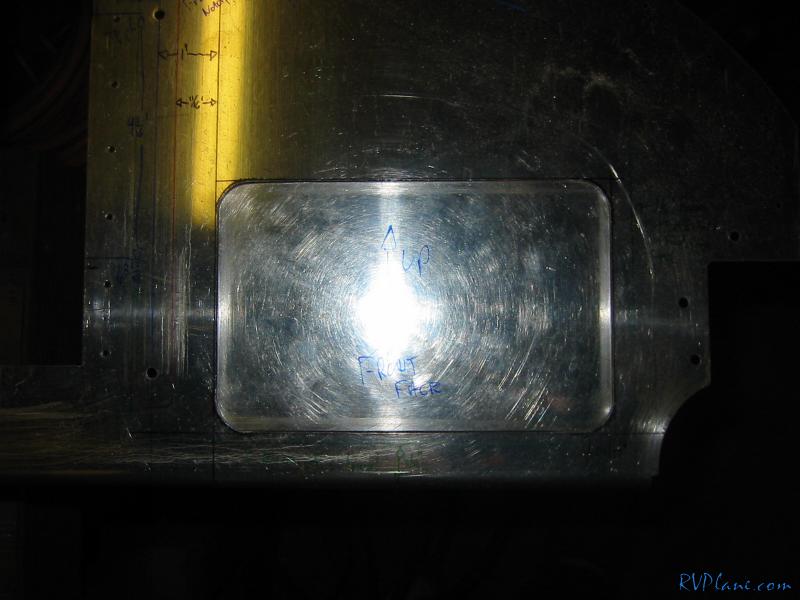
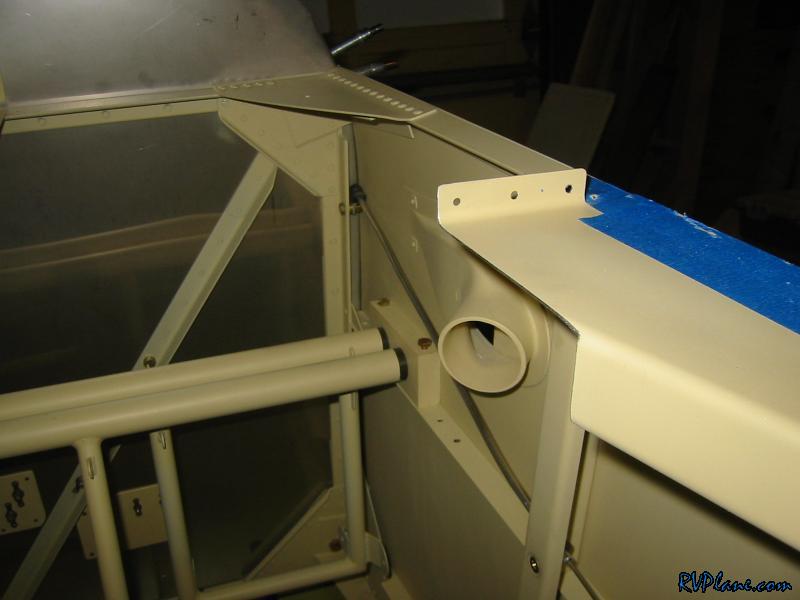
With the hole in the panel completed, it was time to cut a hole in the subpanel for the map box to penetrate through. However, there was interference with the forward canopy deck. I knew about this earlier when I decided where my map box would go.

Image

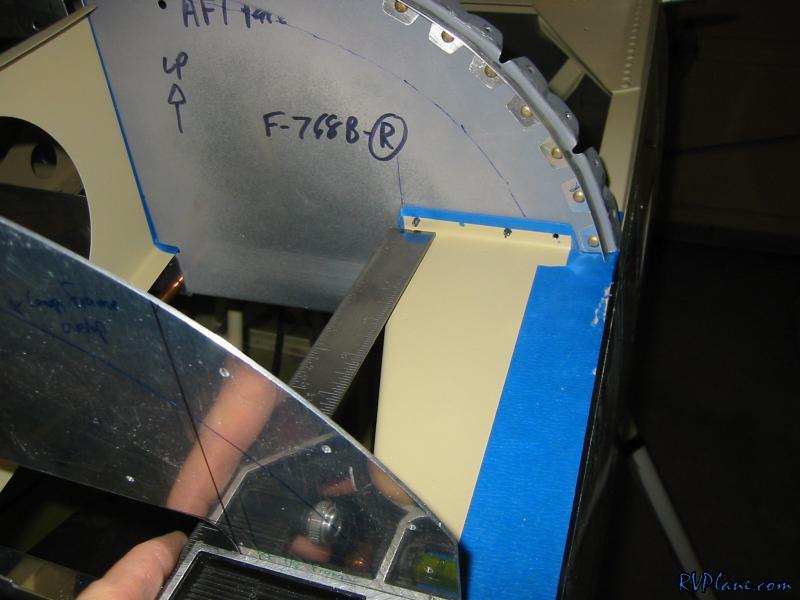
After some work with the cutoff wheel in the dremel:

Image

Next I needed to cut the subpanel for the map box to go through.

Image

I planned the placement of the map box so the bottom of it would align with the bottom of the subpanel. With that simple alignment, I could just toss a piece of 063 angle on the bottom to support the bottom of the map box and reinforce the subpanel.

Image

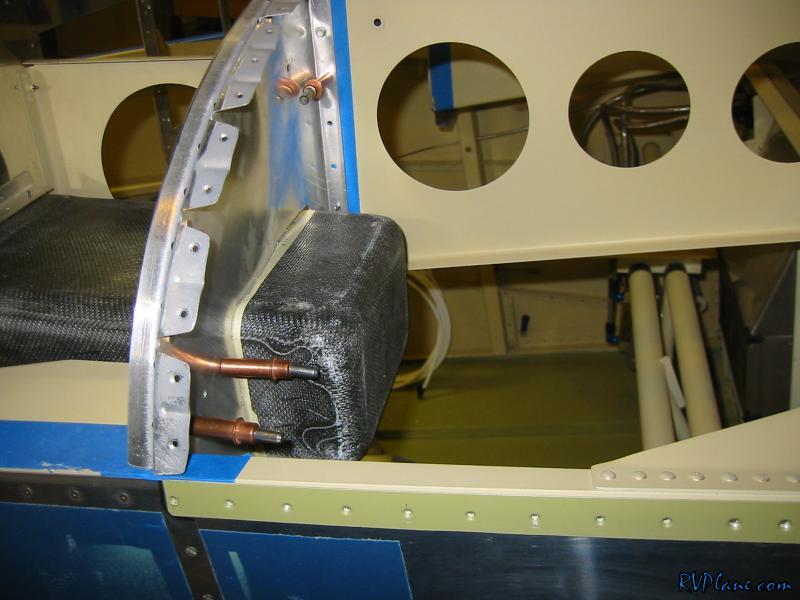
Here is the map box in place.

Image

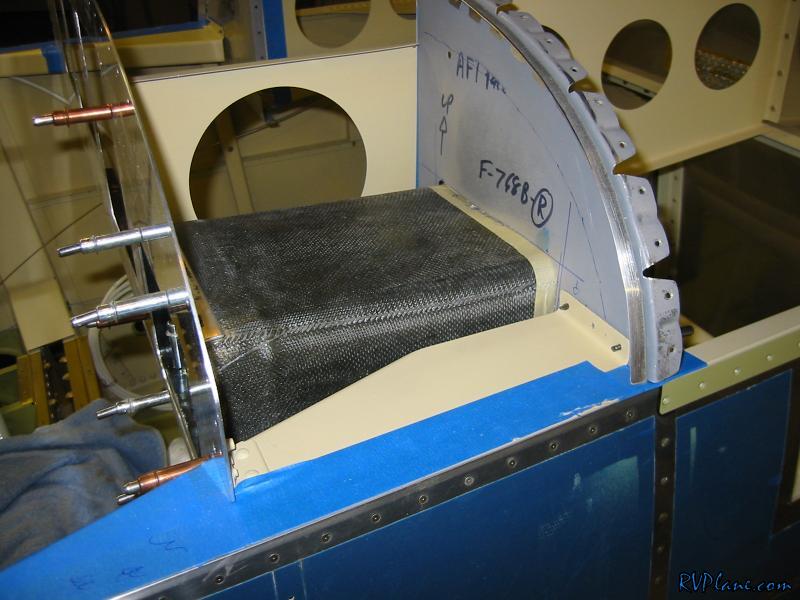
And here is the forward side of the subpanel to show how far it penetrates.

Image
Last edited by bullojm1 on Wed Jan 14, 2009 10:01 am, edited 1 time in total.
Mike Bullock
http://www.rvplane.com
RV-7 | Superior IO-360 | Whirlwind 200RV
Garmin GTN650 | GRT Dual Sport SX EFIS
Status: FLYING!

User avatar
BSwayze
Class C
Posts: 581
Joined: Wed Jun 27, 2007 5:15 am
Location: Portland, Oregon
Contact:

Post by BSwayze »

Mike,
That is flat-out awesome! I love it. I'm a long ways from installing one myself, but I will definitely bookmark this one. Thanks for the great pics and documentation for all of us.

:) :) :)

User avatar
dons
Class C
Posts: 873
Joined: Thu Apr 20, 2006 4:28 pm
Location: Waterloo, Ontario, Canada

Post by dons »

That is going to make a great map box Mike. Your photo documentation really tells the story well. I take it the installation of the latch is tonight's undertaking. Well done and thanks.
Don Sinclair
CYKF
RV-7A (Fuselage)

Spike
Chief Rivet Banger
Posts: 4013
Joined: Thu Oct 14, 2004 8:40 pm
Location: Baltimore, MD
Contact:

Post by Spike »

Slick dude!
http://www.rivetbangers.com - Now integrating web and mail!
Current Build: 2 years into a beautiful little girl

Post Reply