How to do flaps... MY WAY!

A forum for the proverbial airport bum who just wants to talk about anything and everything related to flying. Introduce yourself here !!

Post Reply
User avatar
captain_john
Sparky
Posts: 5880
Joined: Sun Oct 31, 2004 9:17 am
Location: KPYM

How to do flaps... MY WAY!

Post by captain_john »

Okay, am I the only one who read the directions and said, "Now that sucks"!?! The directions start off with the statement of "The flaps are the easiest of all the control surfaces to construct", and it goes south from there. They warn about making twisted components and in the RV8OR it confirms that. I dunno, I had no difficulty and if you do it my way, you should have good results too!

You will need to make this nifty little bucking bar seen sitting on the spar. It is just the ticket for those top skin to spar rivets!

Image

Once everything is match drilled and primed, rivet all the bracketry for the inboard control stuff onto the inboard rib and the spar.

Image

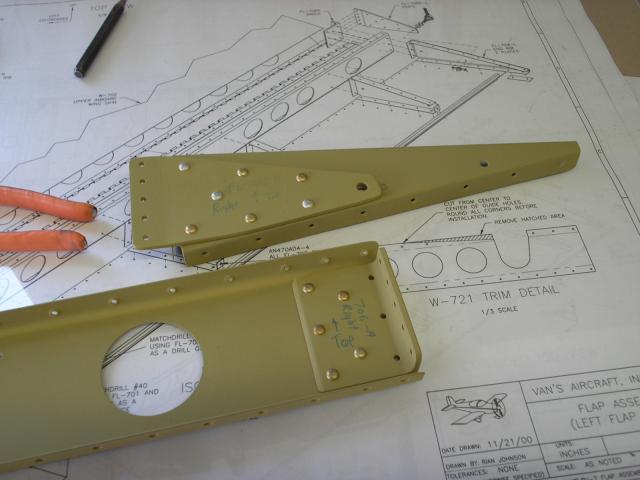
Once that stuff is riveted, rivet the lower skin's "virtual spar" to the inboard ribs.

Image

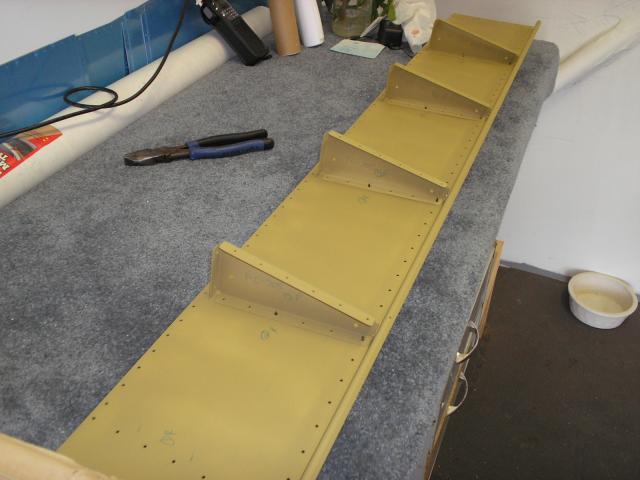
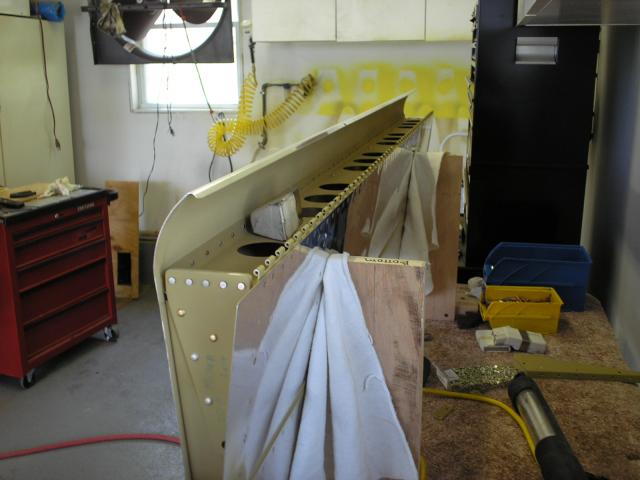
From here on out, it is one rivet at a time beginning with the top skin to ribs, then the bottome skin to ribs. I chose to do the top skin first because if there was any buckling to happen, it would occur on the bottom with this sequence.

Then it was time to do the spar to skin stuff. I did the top, then the bottom again for the same reason. Finally you pull the blind rivets on the leading edge of the spar. Getting the riveter in there can be a treat, but you need to bend te skin away in order to accomodate the rivet puller.

Hope this helps!

:) CJ
RV-7
Garmin G3X with VP-X & a TMX-IO-360 with G3i
It's all over but the flying! 800+ hours in only 3 years!

LooseNut
Class E
Posts: 92
Joined: Fri Apr 22, 2005 8:33 pm

Post by LooseNut »

looking good 8) cj!

User avatar
Wicked Stick
Class B
Posts: 1000
Joined: Wed Feb 09, 2005 10:00 pm
Location: KEWB

Post by Wicked Stick »

Congrats on finishing another part of your project.

Let me know when you'll need a hand riveting on the bottom skins.
Dave "WS" Rogers
RV-8 (125 hrs & counting)
N173DR

User avatar
svanarts
Air Marshall
Posts: 1512
Joined: Wed Oct 27, 2004 5:19 pm
Location: Modesto, CA
Contact:

Post by svanarts »

Hah, you kids have it sooooo easy. Why, back in my day we didn't have our holes drilled in the flaps for us! We had to measure and drill our own holes. Calling what I got from Van's an aircraft kit is like calling a log a furniture kit.

Sorry, saw that quote on another forum and have been waiting all week to use it! :mrgreen:

User avatar
captain_john
Sparky
Posts: 5880
Joined: Sun Oct 31, 2004 9:17 am
Location: KPYM

Post by captain_john »

Scott, that is a good one! ...a log a furniture kit!

Dave, THANKS! I am very pleased with them! I will be sure to have you over soon!!!

Likewise, lemme know when you need some help.

:) CJ
RV-7
Garmin G3X with VP-X & a TMX-IO-360 with G3i
It's all over but the flying! 800+ hours in only 3 years!

User avatar
JohnR
Class B
Posts: 1081
Joined: Mon Aug 29, 2005 3:22 pm
Location: Iowa

Post by JohnR »

Very timely CJ. Hopefully I w ill be gettign to these before to much longer. Thanks for the info! :good job:
JohnR
RV-7A - Fuselage - SOLD, just not supposed to be
Numbers 6:24 - The LORD bless thee, and keep thee

User avatar
JohnR
Class B
Posts: 1081
Joined: Mon Aug 29, 2005 3:22 pm
Location: Iowa

Re: How to do flaps... MY WAY!

Post by JohnR »

captain_john wrote:Okay, am I the only one who read the directions and said, "Now that sucks"!?! The directions start off with the statement of "The flaps are the easiest of all the control surfaces to construct", and it goes south from there. CJ
"The flaps are the easiest of all the control surfaces to construct" That is just a warped statement in my opinion! I would rather build two more ailerons!

These things seem to take forever. Maybe it is just because of that statement I was expecting them to be easy. I guess they aren;t that hard but I wouldn;t call them easy.

Thanks for the post CJ I plan on using your suggestions.
JohnR
RV-7A - Fuselage - SOLD, just not supposed to be
Numbers 6:24 - The LORD bless thee, and keep thee

User avatar
captain_john
Sparky
Posts: 5880
Joined: Sun Oct 31, 2004 9:17 am
Location: KPYM

Post by captain_john »

John, you are welcome.

They are pretty easy. When compared to the ails, the riveting is easier, there is no counterweight, the trailing edge is already bent and the hinge is much more simple to do.

The design is a good one. I enjoyed the build process. I think you will too.

Have fun and feel free to ask questions.

:) CJ
RV-7
Garmin G3X with VP-X & a TMX-IO-360 with G3i
It's all over but the flying! 800+ hours in only 3 years!

User avatar
cjensen
Whiskey Victor
Posts: 5275
Joined: Sat Apr 23, 2005 10:36 pm
Location: Green Bay, WI

Post by cjensen »

I was looking for this answer in the plans, and did not see it...

How big a hole is drilled for the K1000-4 platenut? I drilled it to #10 last night, and that doesn't seem quite big enough...need an answer on this one quickly...it's almost time to head home to work on this part, and I can get the drill bit from work before I leave...
Chad Jensen
Missing my RV-7...
Vertical Power support
920.216.3699
http://verticalpower.com

User avatar
captain_john
Sparky
Posts: 5880
Joined: Sun Oct 31, 2004 9:17 am
Location: KPYM

Post by captain_john »

How is this for fast?

1/4"

That is a 1/4" x 28 (AN-4) fastener. It has a 1/4' Clearance hole

POW!

8) CJ
RV-7
Garmin G3X with VP-X & a TMX-IO-360 with G3i
It's all over but the flying! 800+ hours in only 3 years!

User avatar
RV7Factory
Beanpolt
Posts: 522
Joined: Fri May 20, 2005 2:28 pm
Location: Livermore, CA

Post by RV7Factory »

I got the data from Brother Checkoway, buy you can always print out a handy cheat sheet from my web site. It, along with a few other goodies can be found on my Tips and Resources page.

http://www.rv7factory.com/files/drill_r ... _sheet.pdf
Brad Oliver
RV-7 | Livermore, CA
RV7Factory.com
Image

User avatar
cjensen
Whiskey Victor
Posts: 5275
Joined: Sat Apr 23, 2005 10:36 pm
Location: Green Bay, WI

Post by cjensen »

Thanks for the quick replies guys!!

Oh, and BTW Brad, I do have the chart printed off your website. The only part that doesn't work for me, is my brain forgetting that I have it... :bang: :bang: :bang: :bang: I could've answered this question last night, had I remembered... :roll:
Chad Jensen
Missing my RV-7...
Vertical Power support
920.216.3699
http://verticalpower.com

User avatar
papakeith
Class D
Posts: 430
Joined: Thu Feb 16, 2006 9:15 pm
Location: Rhode Island
Contact:

Post by papakeith »

svanarts wrote:Hah, you kids have it sooooo easy. Why, back in my day we didn't have our holes drilled in the flaps for us! We had to measure and drill our own holes. Calling what I got from Van's an aircraft kit is like calling a log a furniture kit.
aircraft kit? What is this kit thing that you speak of??
:lol: :evil:

^5 john. Keep the pics coming. I like watching your build as it progresses.
-------
RB's #1 heretic
www.bearhawk949.com

User avatar
cjensen
Whiskey Victor
Posts: 5275
Joined: Sat Apr 23, 2005 10:36 pm
Location: Green Bay, WI

Post by cjensen »

I finished my left flap last night. I used a cross between Vans/Dan's/CJ's method. It turned out great, nice and straight!

Here's the bucking bar that I used to solo shoot the top skin row of rivets-
Image

And my finished left flap-
Image
Image

On to the right side! 8)
Chad Jensen
Missing my RV-7...
Vertical Power support
920.216.3699
http://verticalpower.com

User avatar
dons
Class C
Posts: 873
Joined: Thu Apr 20, 2006 4:28 pm
Location: Waterloo, Ontario, Canada

Post by dons »

Wind must be blowing in the same direction keeping you on the straight and narrow :) , you're making good progress.
Don Sinclair
CYKF
RV-7A (Fuselage)

Post Reply