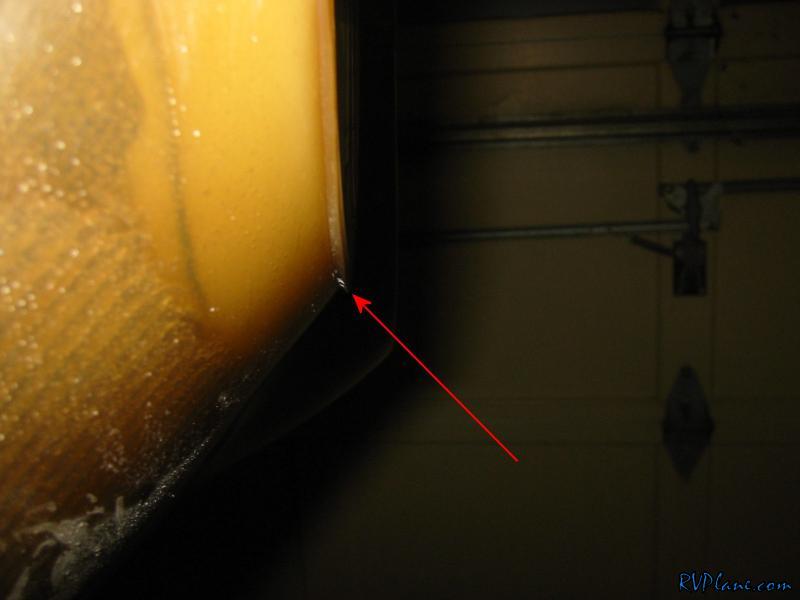
The first thing I took care of was making sure the top and bottom cowls matched up in the front. My left side was good, however, the right side's top cowl needed to be built up a little to match the bottom. A little microballoons mix fixed that up nicely. I am pretty impressed with MicroBalloons. This was my first time using it and it goes on easy and really sands off easily. Great for building up areas in a lightweight manor! The only problem I had with them was how much I made in my batch. With one pump of the epoxy I had a huge amount of micro slurry by the time I was done. Oh well, its only money wasted (I haven't worked out an equation for how much $/pump epoxy costs me yet!). Here is the end result:
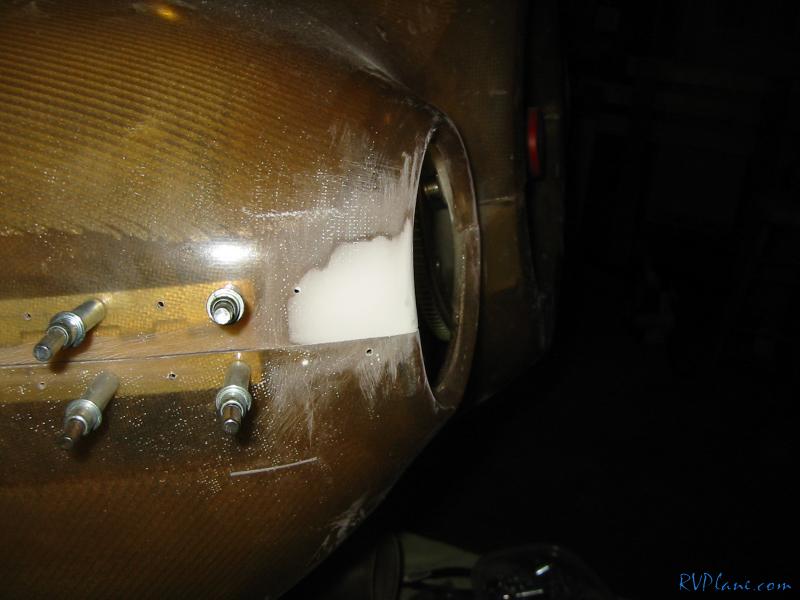
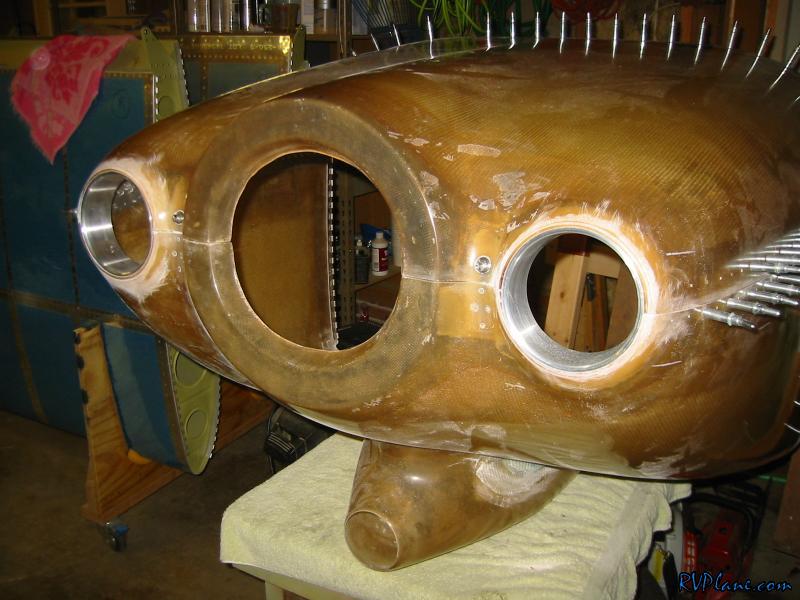
Once the cowl halves lined up, I needed to enlarge the inlet holes to accommodate the size of the inlet rings. I simply put the rings against the cowl and drew a line around the perimeter of the ring with a thick sharpie. The thin sharpie had a tough time coming into contact with the surface of the cowl.
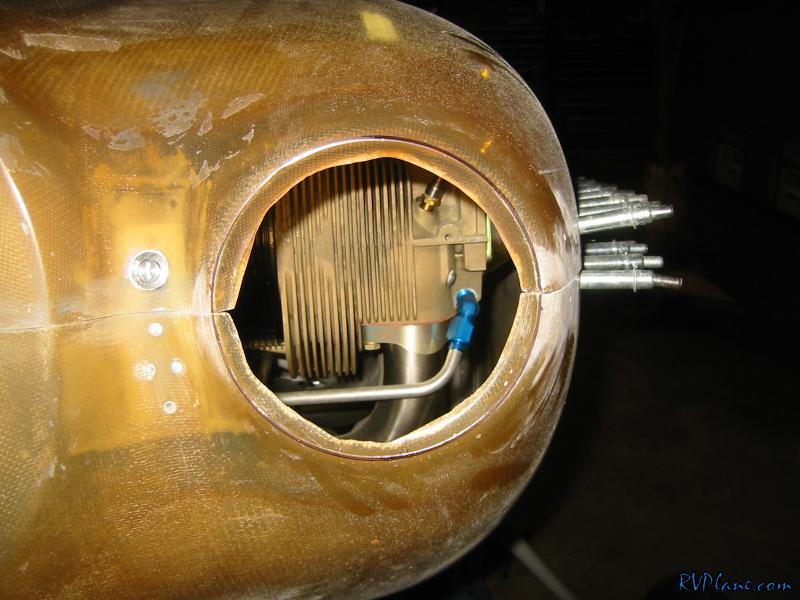
And the end result:
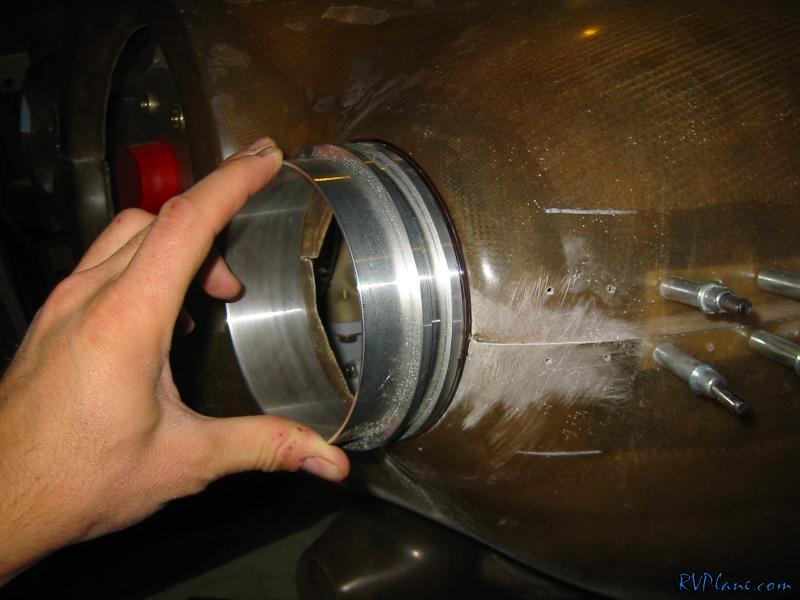
I went at the fiberglass with the dremel tool (builder BEST friend) with a drum sanding wheel to enlarge the hole to the diameter of the ring
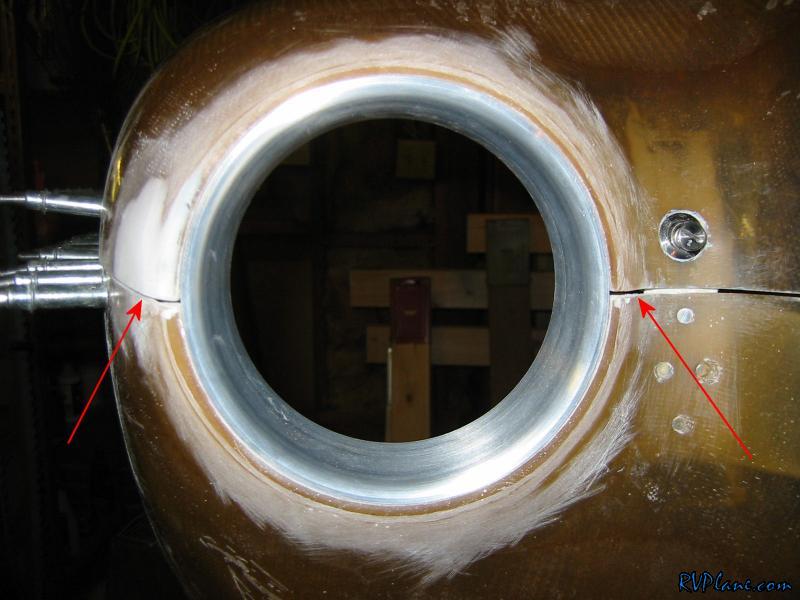
In case you didn't know, the rings aren't permanently attached to the cowl. They have a groove in them that you need to mold the mating pattern into each cowl half. When you install the bottom cowl, you adjust the intake ring to sit in the groove of the bottom cowl (the ring is attached to the baffle/plenum by a flexible neoprene connection). Then the top cowl goes on and locks the ring in. So, I needed to build up the inside of the cowl with flox (flocked cotton and epoxy slurry) to contour to the groove in the inlet ring. Sounds simple right? Well, there are certain things you DON'T want to do. The two specific things you don't want to do is glue the two cowl halves together or glue the two cowl halves together!
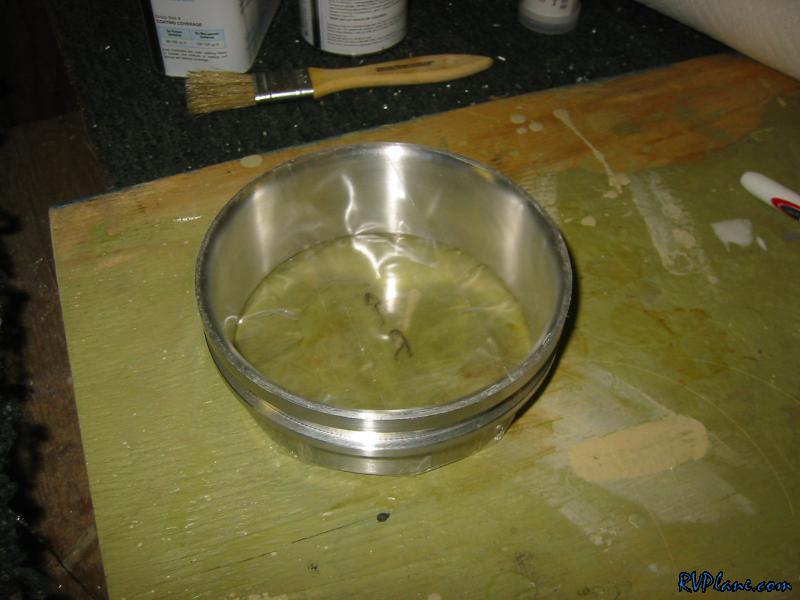
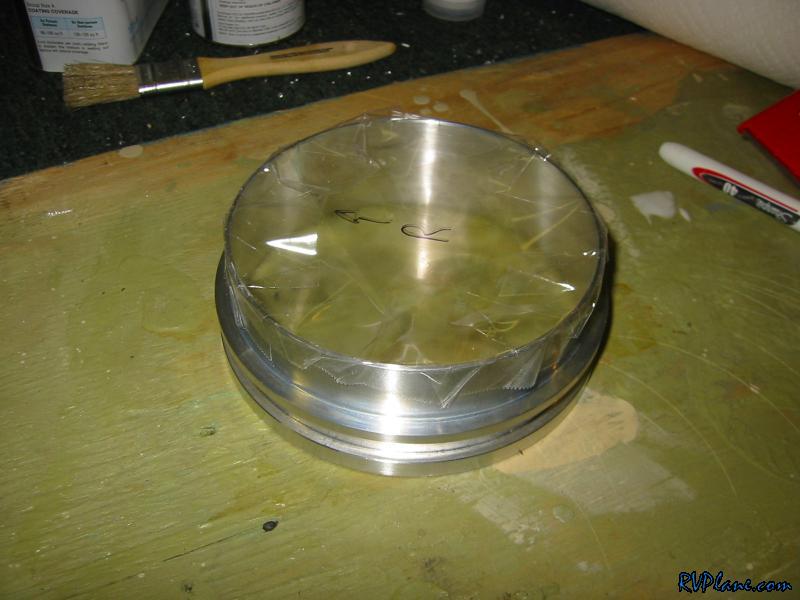
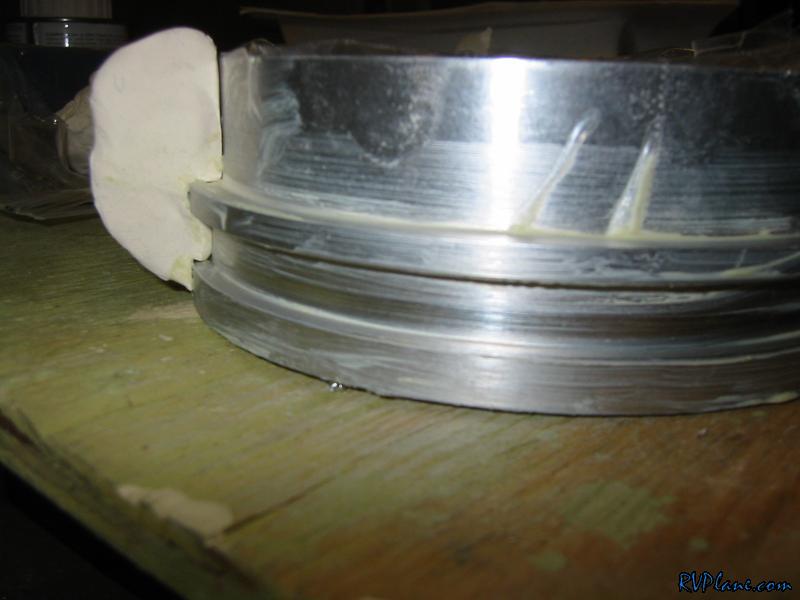
To keep the epoxy exposure to the inlet ring to a minimum, I used packing tape to cover the front and back of the inlet rings.
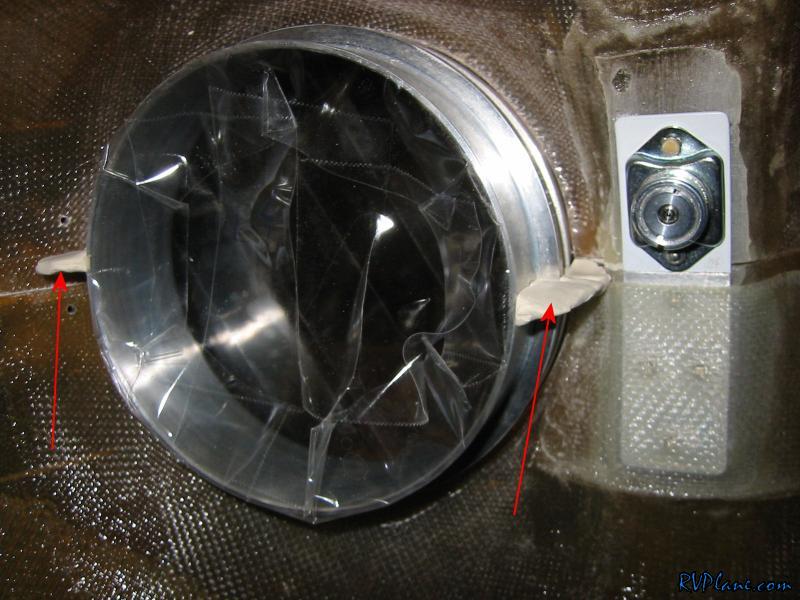
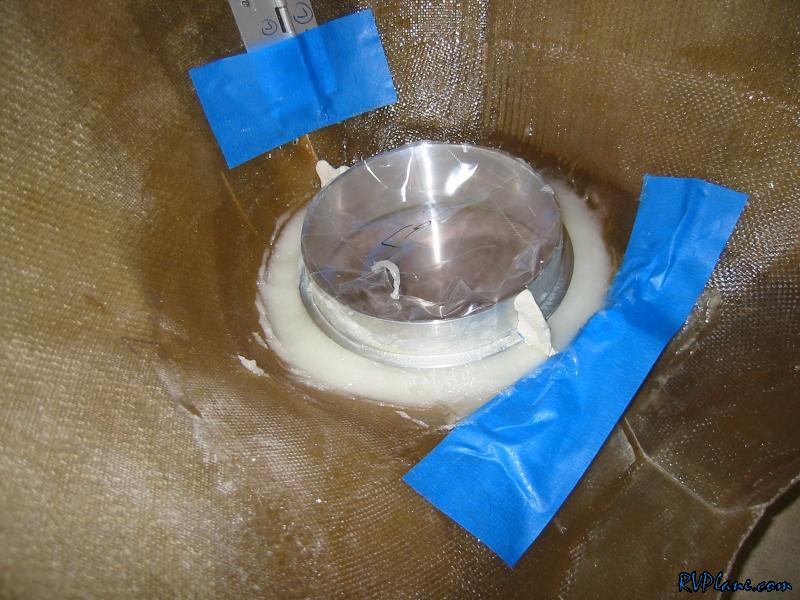
Now onto keeping the cowl halves from sticking together. The Sam James instructions recommended putting clay in between the cowl halves, and I thought that was just genius. Simple and effective.
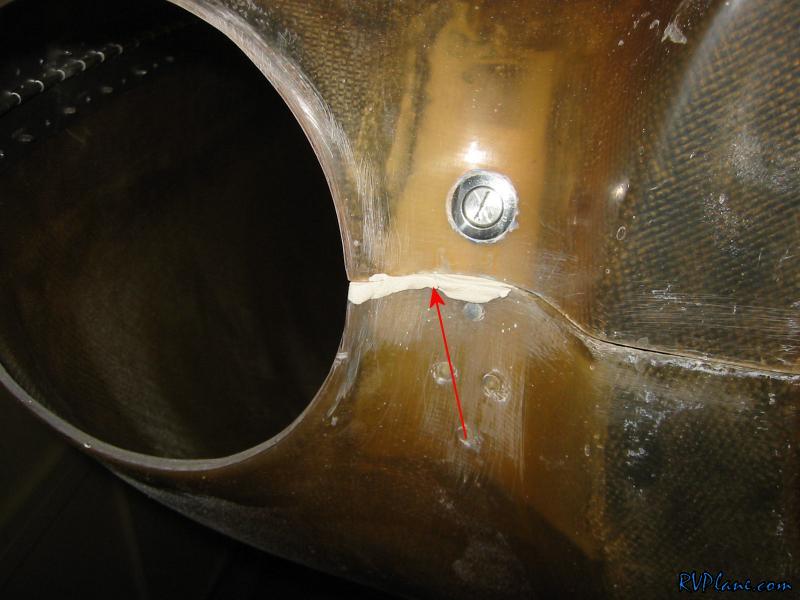
Now I didn't want to just worry about the cowl halves sticking together -- I also knew I needed to pure a flox mixture into the inside of the cowl to seal the rings in. If I just poured it without any provisions, it would bond the two halves of the cowl together. So I used some more clay and made a little dam out of it between the two halves of the cowl.
Next on the list of things I didn't want to happen was the flox to bond to the inlet rings. To take care of that I covered the exposed metal with wax.
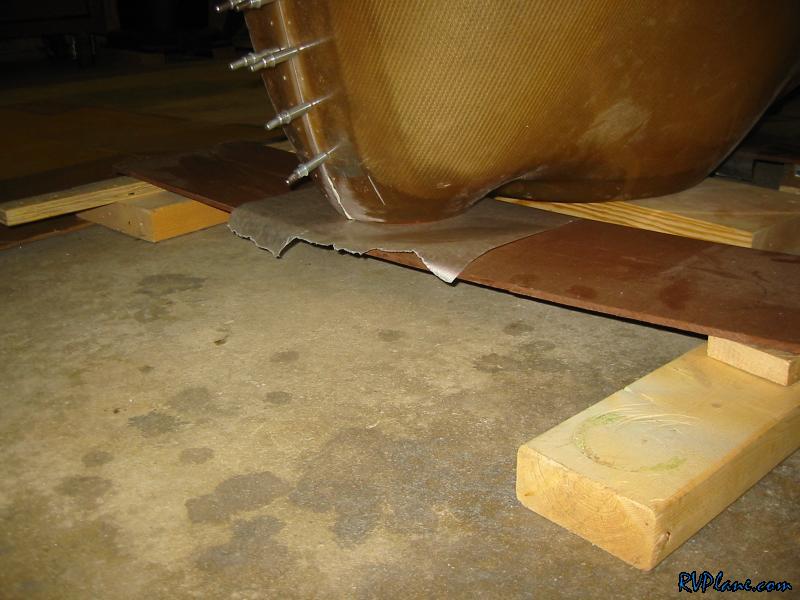
Next was the actual installation and fiberglassing. Gravity is your best friend here. I didn't want to mix the flox too thick for fear it wouldn't gravitate to the groove. I didn't want to too thin either because that would increase the weight and cause it to ooze out of any small gaps between the cowls or between the inlet ring and the cowl. So anyways, I placed the cowl on the floor with the front on the ground.
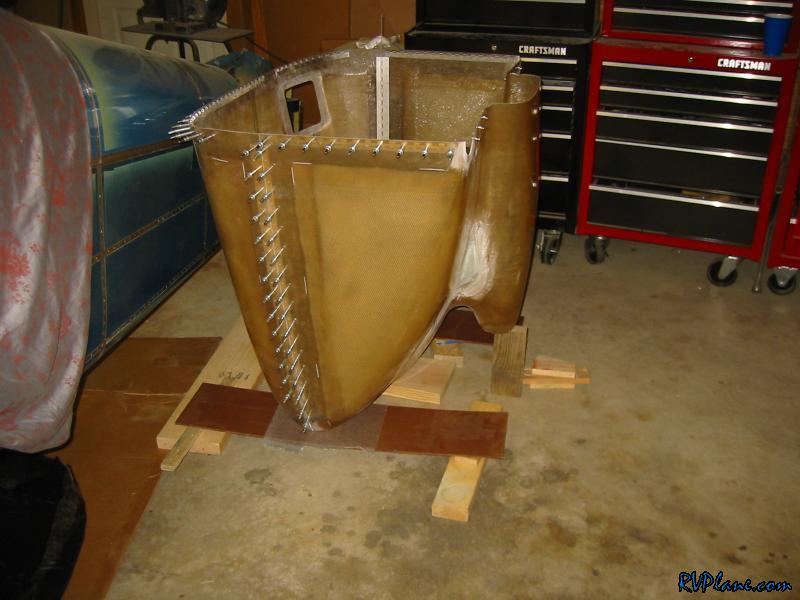
I used some smaller boards and shimmed them to be flush with the intake molds on the cowl. I put some wax paper on the boards in case any flox oozed out.
Finally I put the rings in place and filled the front of the cowl up with flox. It was amazing how much epoxy/flox it took to get these things set. I think I used about 8-9 pumps.
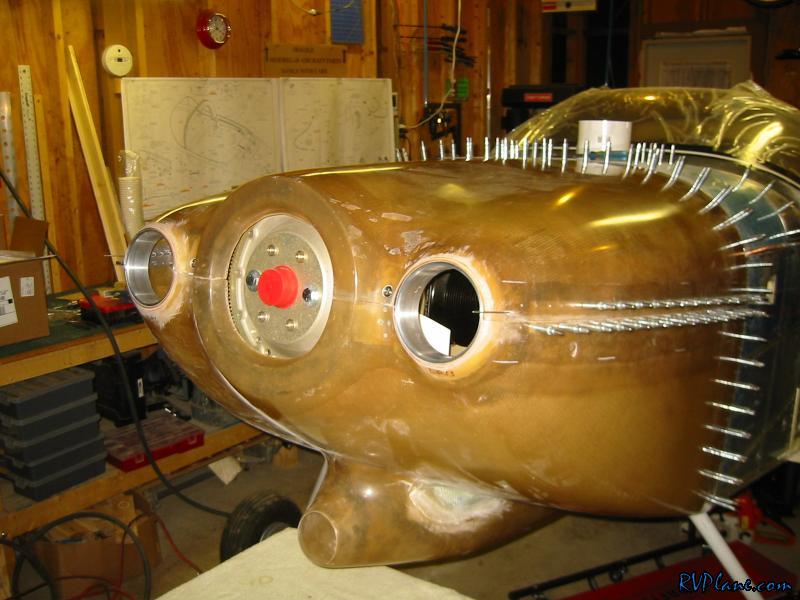
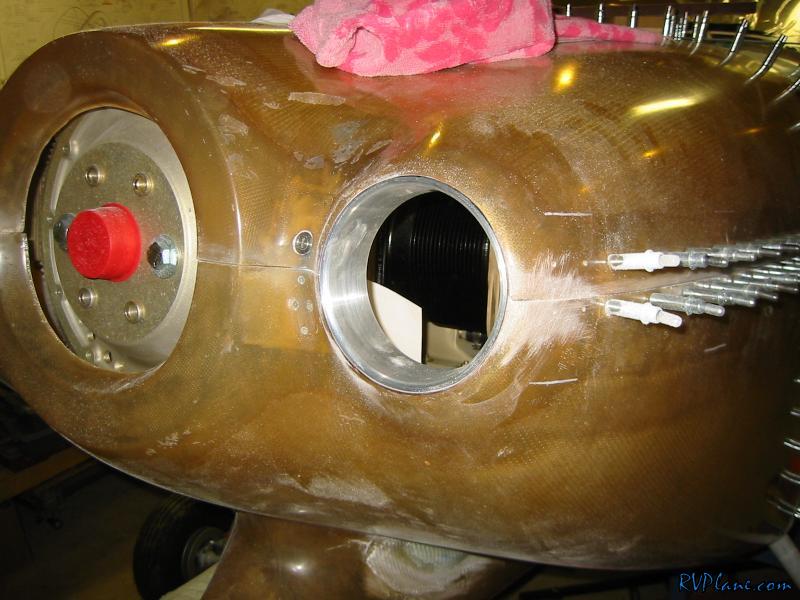
In the end I was pretty happy with how it turned out for the night. It wasn't all that much work, but it was a fair amount of preparation. Tonight I get to see if I can get my cowl halves apart!